LogoLogo
  • 👋GETTING STARTED
    • What is AlgoBox™?
    • 2-Week Free Trial
    • System Setup
    • How To Install
    • How To Use GitBook Documentation
    • AlgoBox™ Beginners Course
  • 🔵FUNDAMENTALS
    • 120 Day Program
    • Workspaces
    • Chart Layouts
    • AlgoBars
    • Contract Rollover
    • Trading Sessions
    • Time Regions
    • News
    • Trade Tracker
    • Daily Tracker Sheet
    • Tide / Wave Visualizer
    • Position Sizing
    • Position Manager
    • Position Details
    • Button Panel
    • Bid Ask Lines
    • Channel Regulator
    • Chart Labeler
    • Current Day OHL
    • Golden Ropes
    • MACV Filter Chart
    • MACV ULTIMATE
    • No Fiddle Zone
    • SMLK Timing Lines
    • FibElliDott
    • Harmonic Patterns
    • FlowMaster™ Alpha Omega
    • FlowMaster™ AudioBox
    • FlowMaster™ Cross
    • FlowMaster™ Delta Flagging Pro
    • FlowMaster™ Enigma
    • FlowMaster™ Enigma Bot
    • FlowMaster™ Enigma Dream Panel
    • Info Panel
    • Speedometer & Psychology Module
    • Speedy Chart
    • Support & Resistance Zones
    • Ultimate OBOS Divergence
    • Volume Profiler
    • Chart Notes
  • 🟢STRATEGIES
    • 1 Tick Wonder
    • 2 Finger Salute
    • 3 Wise Men
    • 4 Legged Dog Trap
    • Super Bands
    • Cluster Reversal
    • DCDM
    • DCR
    • Delta King
    • Diamond Dot
    • Double Delta
    • Double Delta Shift Reversal
    • Double Dot
    • HarmoniDot
    • Headshot
    • Ignition Bar
    • J-Hook
    • Masher
    • Enigma + AudioBox
    • Enigma MoonShot
    • Enigma Cadence
    • Double Enigma
    • Enigma + DCDM
    • Piercer
    • Plover
    • PRZ Cross
    • P-PRZ Ladders
    • Richie
    • Shark Back & Shark Tail
    • Strategy Confluence
    • Turtle
    • Regions
    • Alpha Omega Clustering
    • Alpha Omega Continuation
    • Super Alpha Omega
    • Super Moon
    • Titanic Zone
  • 🔴ESSENTIAL TIPS & TECHNIQUES
    • 4 Types of Stop Losses
    • 2-Try Rule
    • Recency Is Key
    • Hold To Opposing Signal
    • Small Account Challenge
    • Practice 10x Size
    • Checklists & Reminders
    • Stalking Trades
    • Dr. Seuss Entry Technique
    • Windfall Rules
    • Tools Of The Trade
    • Screenshots & Recordings
    • Trade Copier
    • PC Performance
    • NinjaTrader 8
    • Hotkeys
    • Sound
    • Trade Performance
    • Indicators
    • Market Replay / NT Playback
    • Commissions
    • Daily Loss Limit
    • Multiple PCs
    • Discord
    • AlgoBox™ Academy
      • Answers
    • Discounts
  • 🔗Links
    • Website
    • YouTube
    • Discord
    • AlgoBoxGPT
    • ℹ️Disclaimer
Powered by GitBook
On this page
  • Morning Session
  • 9:40am - 9:50am Reversal
  • 10:10am - 10:30am Break
  • Morning Beast Mode
  • Afternoon Session
  • 2:20pm - 2:30pm Afternoon Reversal
  • BTFD/STFR
  • 3:50pm Algos
  • Lucky 7's
  • Time Region Settings
  • 1. Visual Settings
  • 2. Warning times
  • 3. Data Series
  • 4. Setup
  • 5. Visual
Export as PDF
  1. FUNDAMENTALS

Time Regions

Chart Alerts For Important Time Periods

Last updated 6 months ago

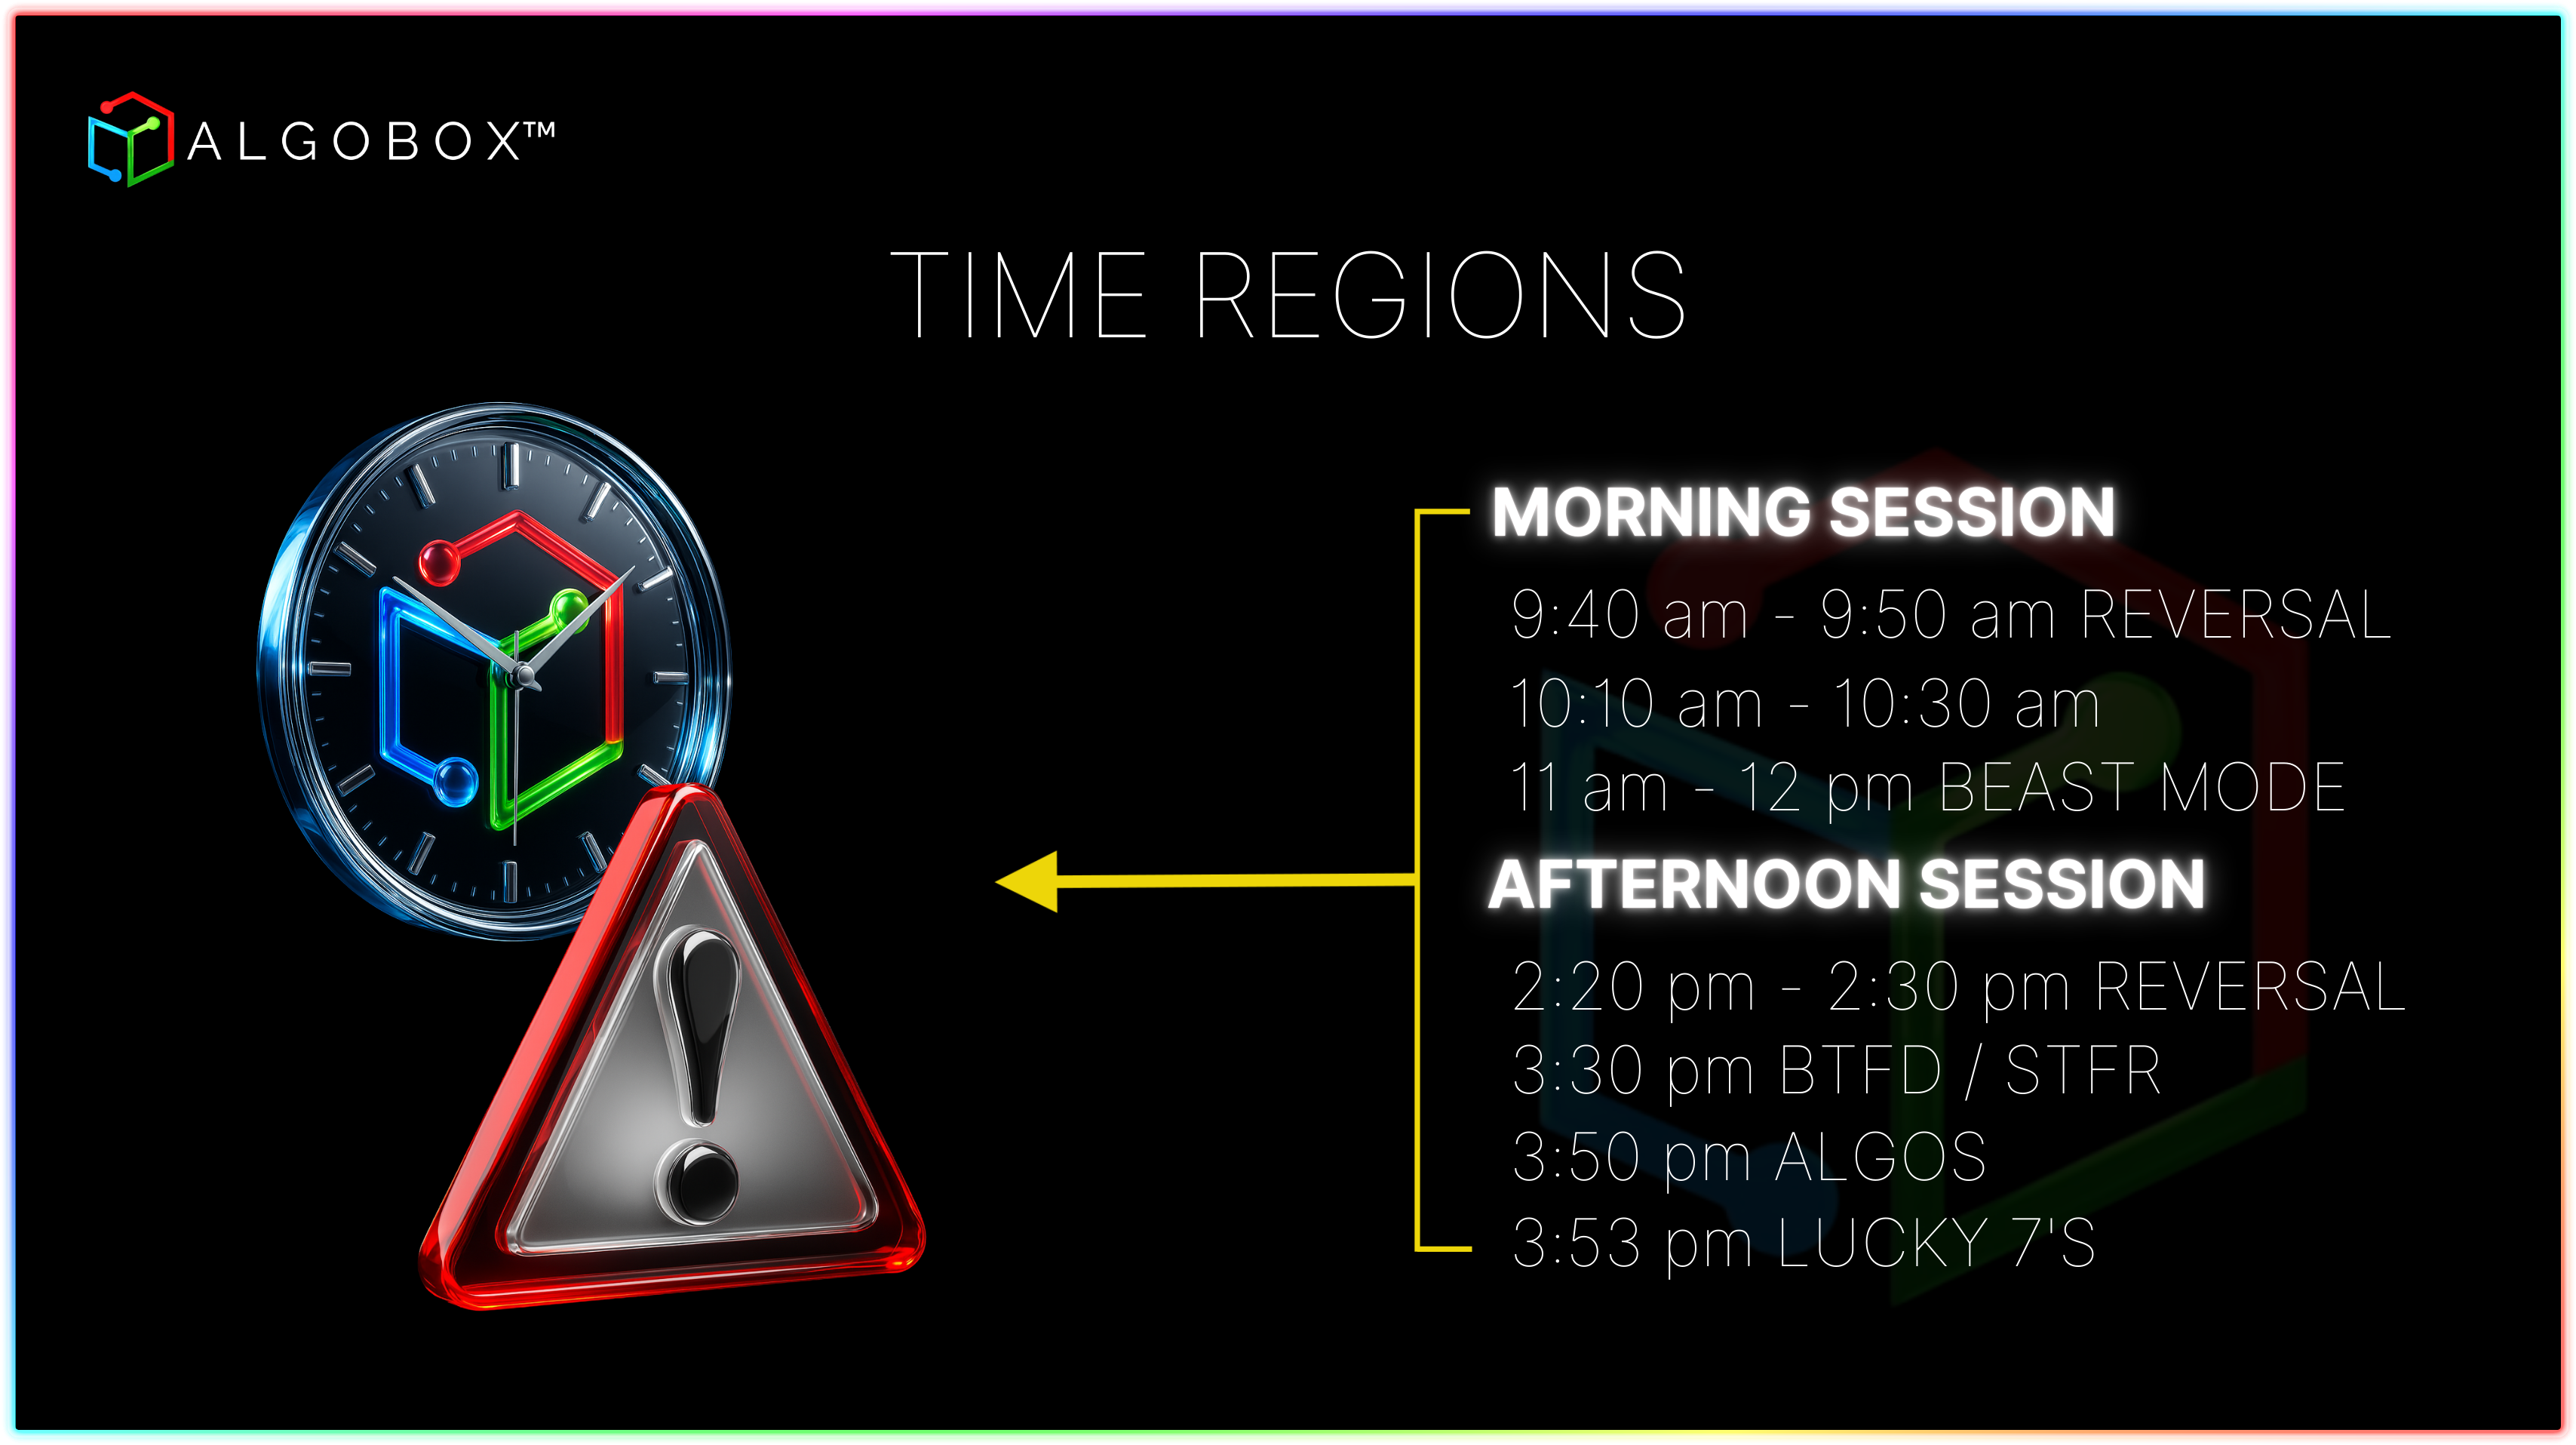
The Time Region indicator is an advanced tool that automatically highlights zones on your charts to warn you of upcoming sessions or time alerts. No more having to rely solely on your memory of which time region is coming up next.

Time Region zones can be color customized.

Morning Session

You can also customize which time periods you want displayed on your charts.

9:40am - 9:50am Reversal

10:10am - 10:30am Break

Morning Beast Mode

Afternoon Session

2:20pm - 2:30pm Afternoon Reversal

BTFD/STFR

3:50pm Algos

Lucky 7's


Time Region Settings

1. Visual Settings

Alert Color: Customize the time region alert color to your preference.

Warning Color: Customize the time region warning color to your preference.

Region Opacity: Adjust the visibility of the time region color displayed on the chart.

Warning Opacity: Adjust the visibility of the warning color displayed on the chart.

Warning Time Threshold: Modify the warning time, which is set to 2 minutes by default.

2. Warning times

You can enable or disable specific times you wish to highlight on the chart.

3. Data Series

Displays the current chart instrument, contract date and configurations applied.

Input Series: Determines which chart the indicator is displayed on.

4. Setup

Allows you to add a label, set the maximum bars to look back, and configure calculations based On Price Change, On Bar Close, or On Each Tick.

On Price Change: Updates the indicator only when there is a change of the instrument price.

On Bar Close: Updates whenever a new bar closes, recalculating based on the finalized bar data to reflect the latest market conditions and changes in trends. Be mindful of whether you are using AlgoBars or range bars.

On Each Tick: Updates with every price change or tick in the market, providing real-time adjustments and reflecting the latest data. This setting increases CPU processing load.

5. Visual

Customize button colors, adjust the button placement and modify the font type or size. The Visual Settings shown are default settings which usually do not need to be changed unless specified in release notes or instructional video, live stream or on Discord etc. Auto scale is recommended to be unchecked.

Auto Scale: Automatically adjusts the indicator’s scale to fit within the chart’s price axis, ensuring it’s properly visible without manual adjustments.

Displacement: Shifts the indicator's plot forward or backward on the time axis. This setting is useful for aligning the indicator with price bars or other chart elements, especially in cases where you want to visualize future or past data relative to the current price.

Display in Data Box: Determines whether the values are shown in the Data Box, which is an on-screen display that provides detailed information about the current values when you hover over or click on the chart.

Panel: Specifies which panel or sub-panel the indicator is displayed in on the chart. Indicators can be placed in separate panels above or below the main price chart, allowing for organized and uncluttered visualization of multiple indicators.

Price Markers: Controls the display of markers or symbols on the price axis associated with the indicator's values. This setting helps highlight specific price levels or events directly on the price chart for better visibility and analysis.

Scale Justification: Determines where the indicator is positioned on the price scale, such as to the right or left side of the chart.

Visible: Toggles the overall visibility of the indicator, allowing you to hide or show it on the chart.

All settings displayed in the settings image are the current default configurations provided by NinjaTrader and/or the AlgoBox™ Pro software, and may change at any time in future software updates without notice.


Want to learn more about visual chart alerts? Check out the .

Only available on AlgoBox™ for NinjaTrader 8.

🔵
AlgoBox™ SMLK indicator
Try AlgoBox™ for free today.
Disclaimer
The Time Region indicator visually alerts you to any of the specified sessions or times that you choose to be warned or alerted about.
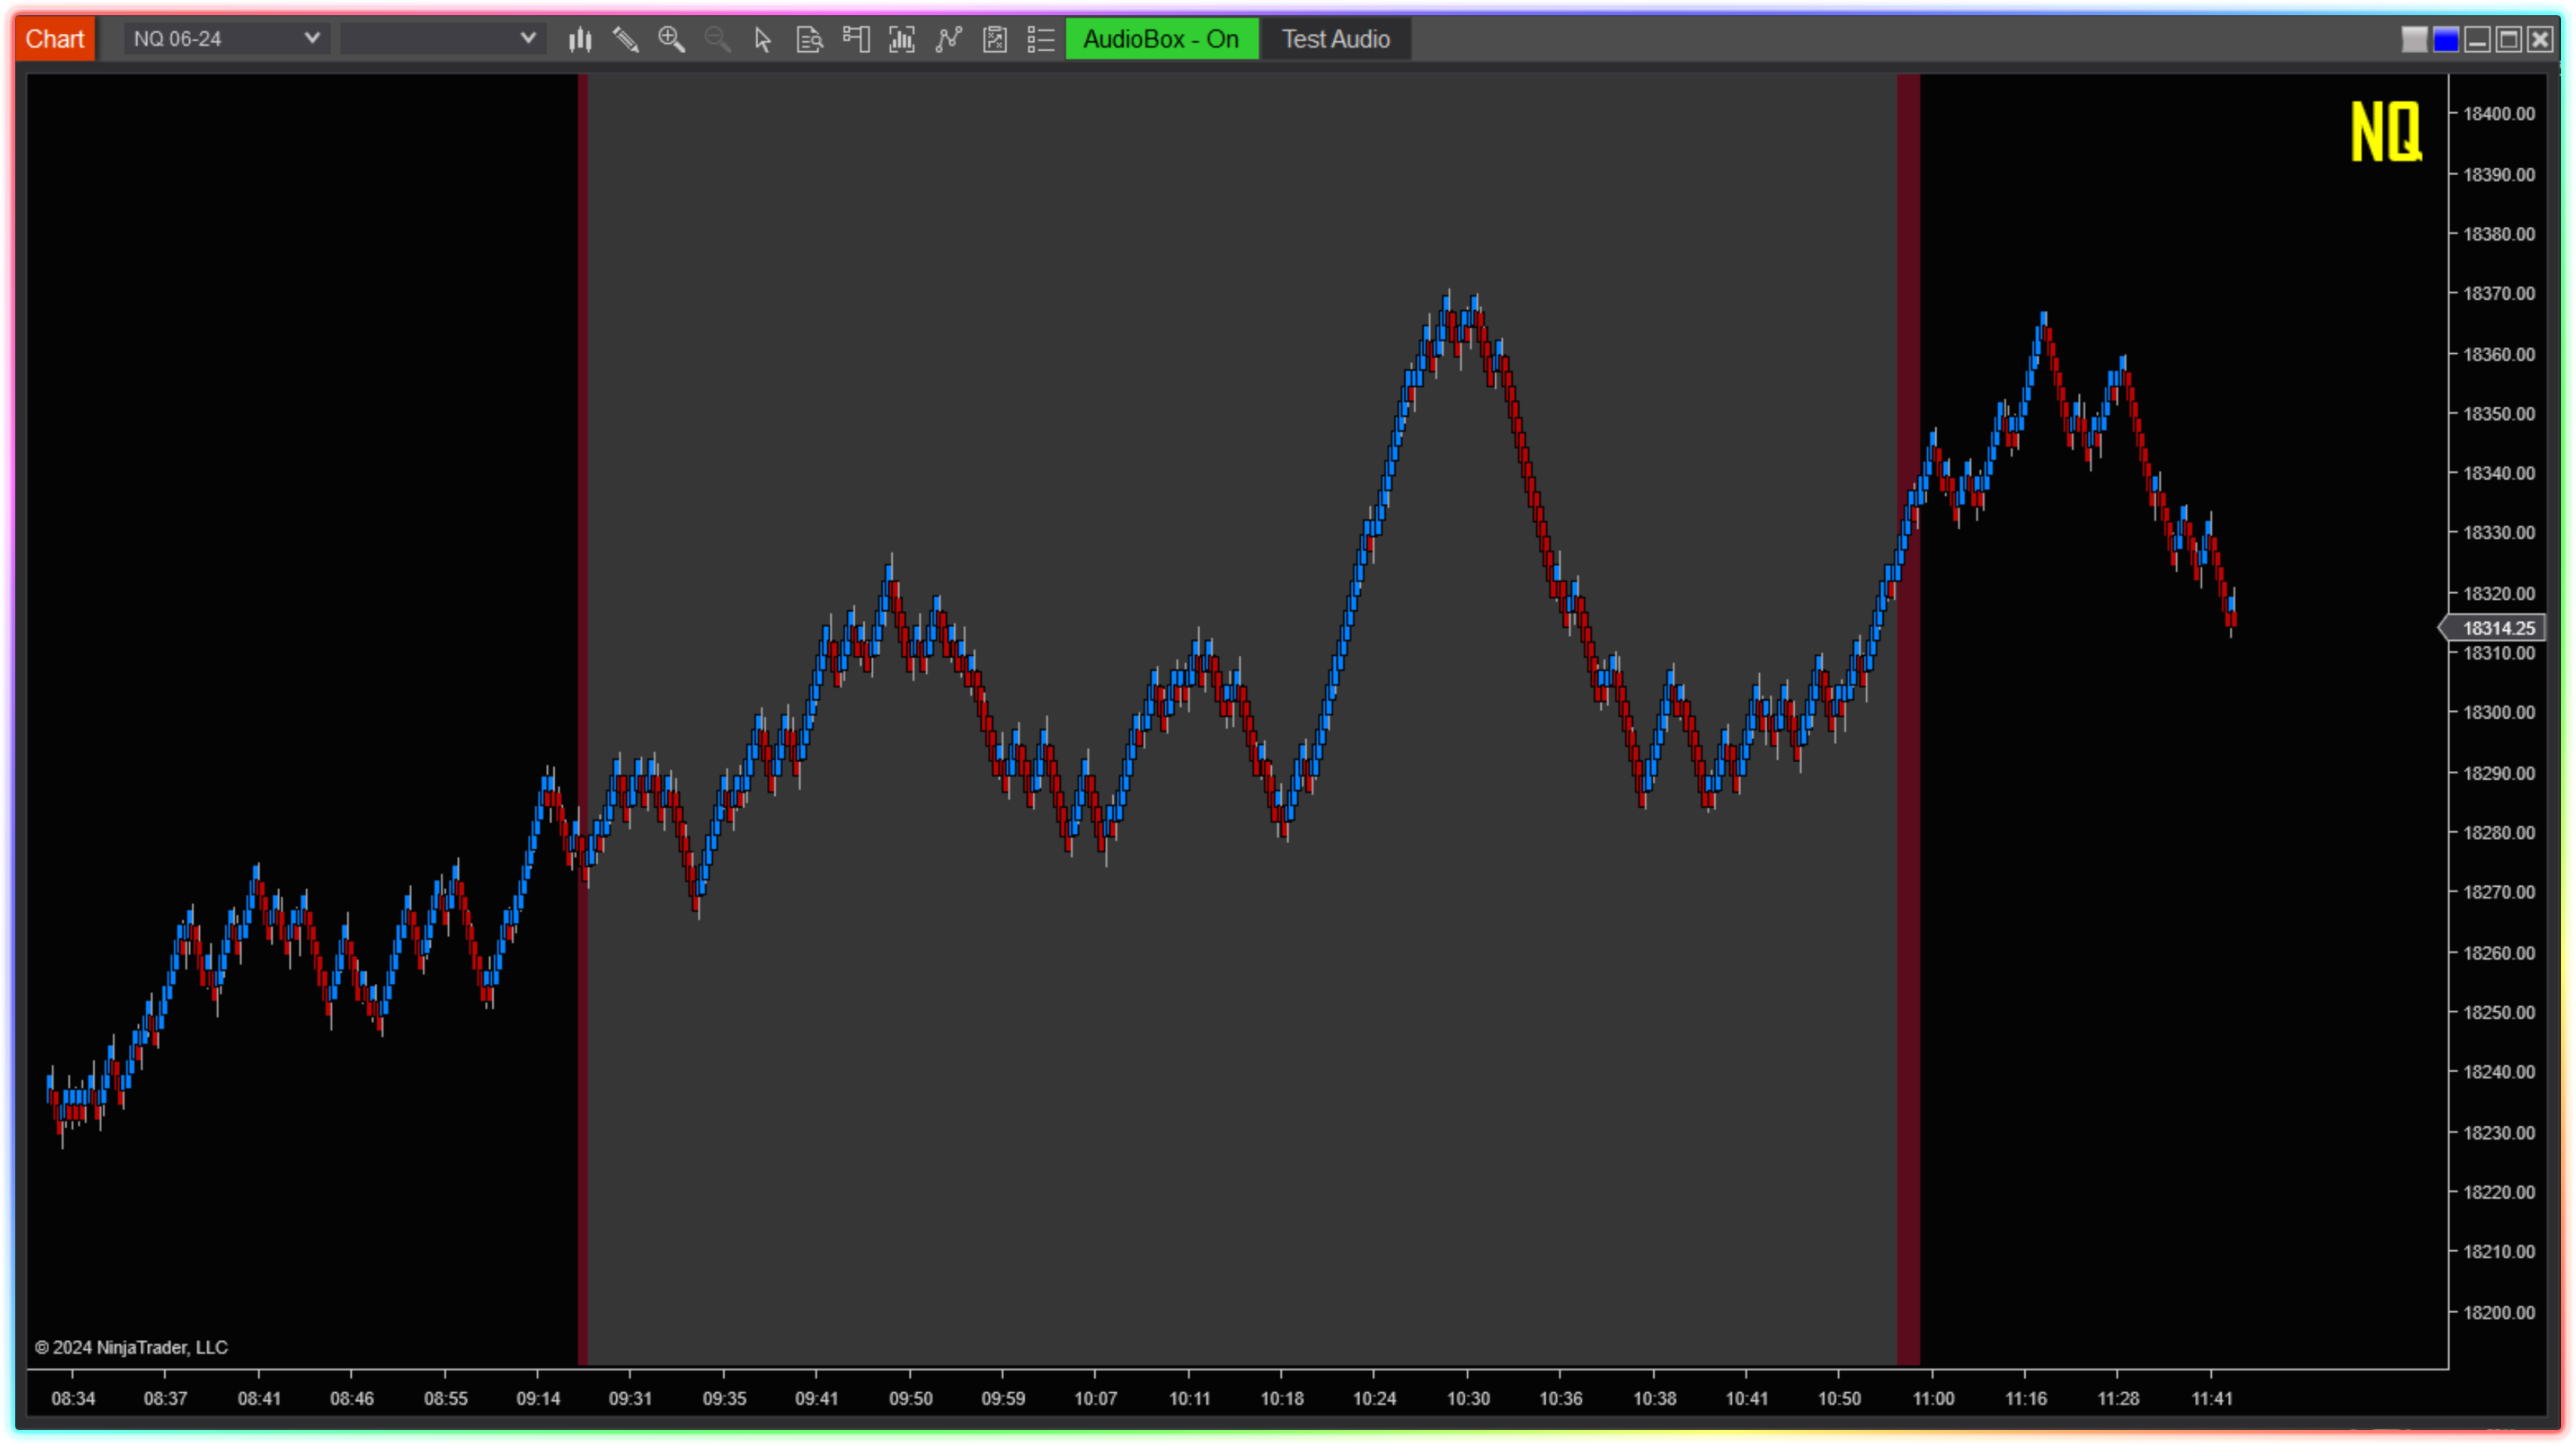
The Time Region indicator applied to warn when the Morning Session will start: The red shaded area begins 2 minutes before the session starts, followed by a grey shaded area that remains until that region ends.
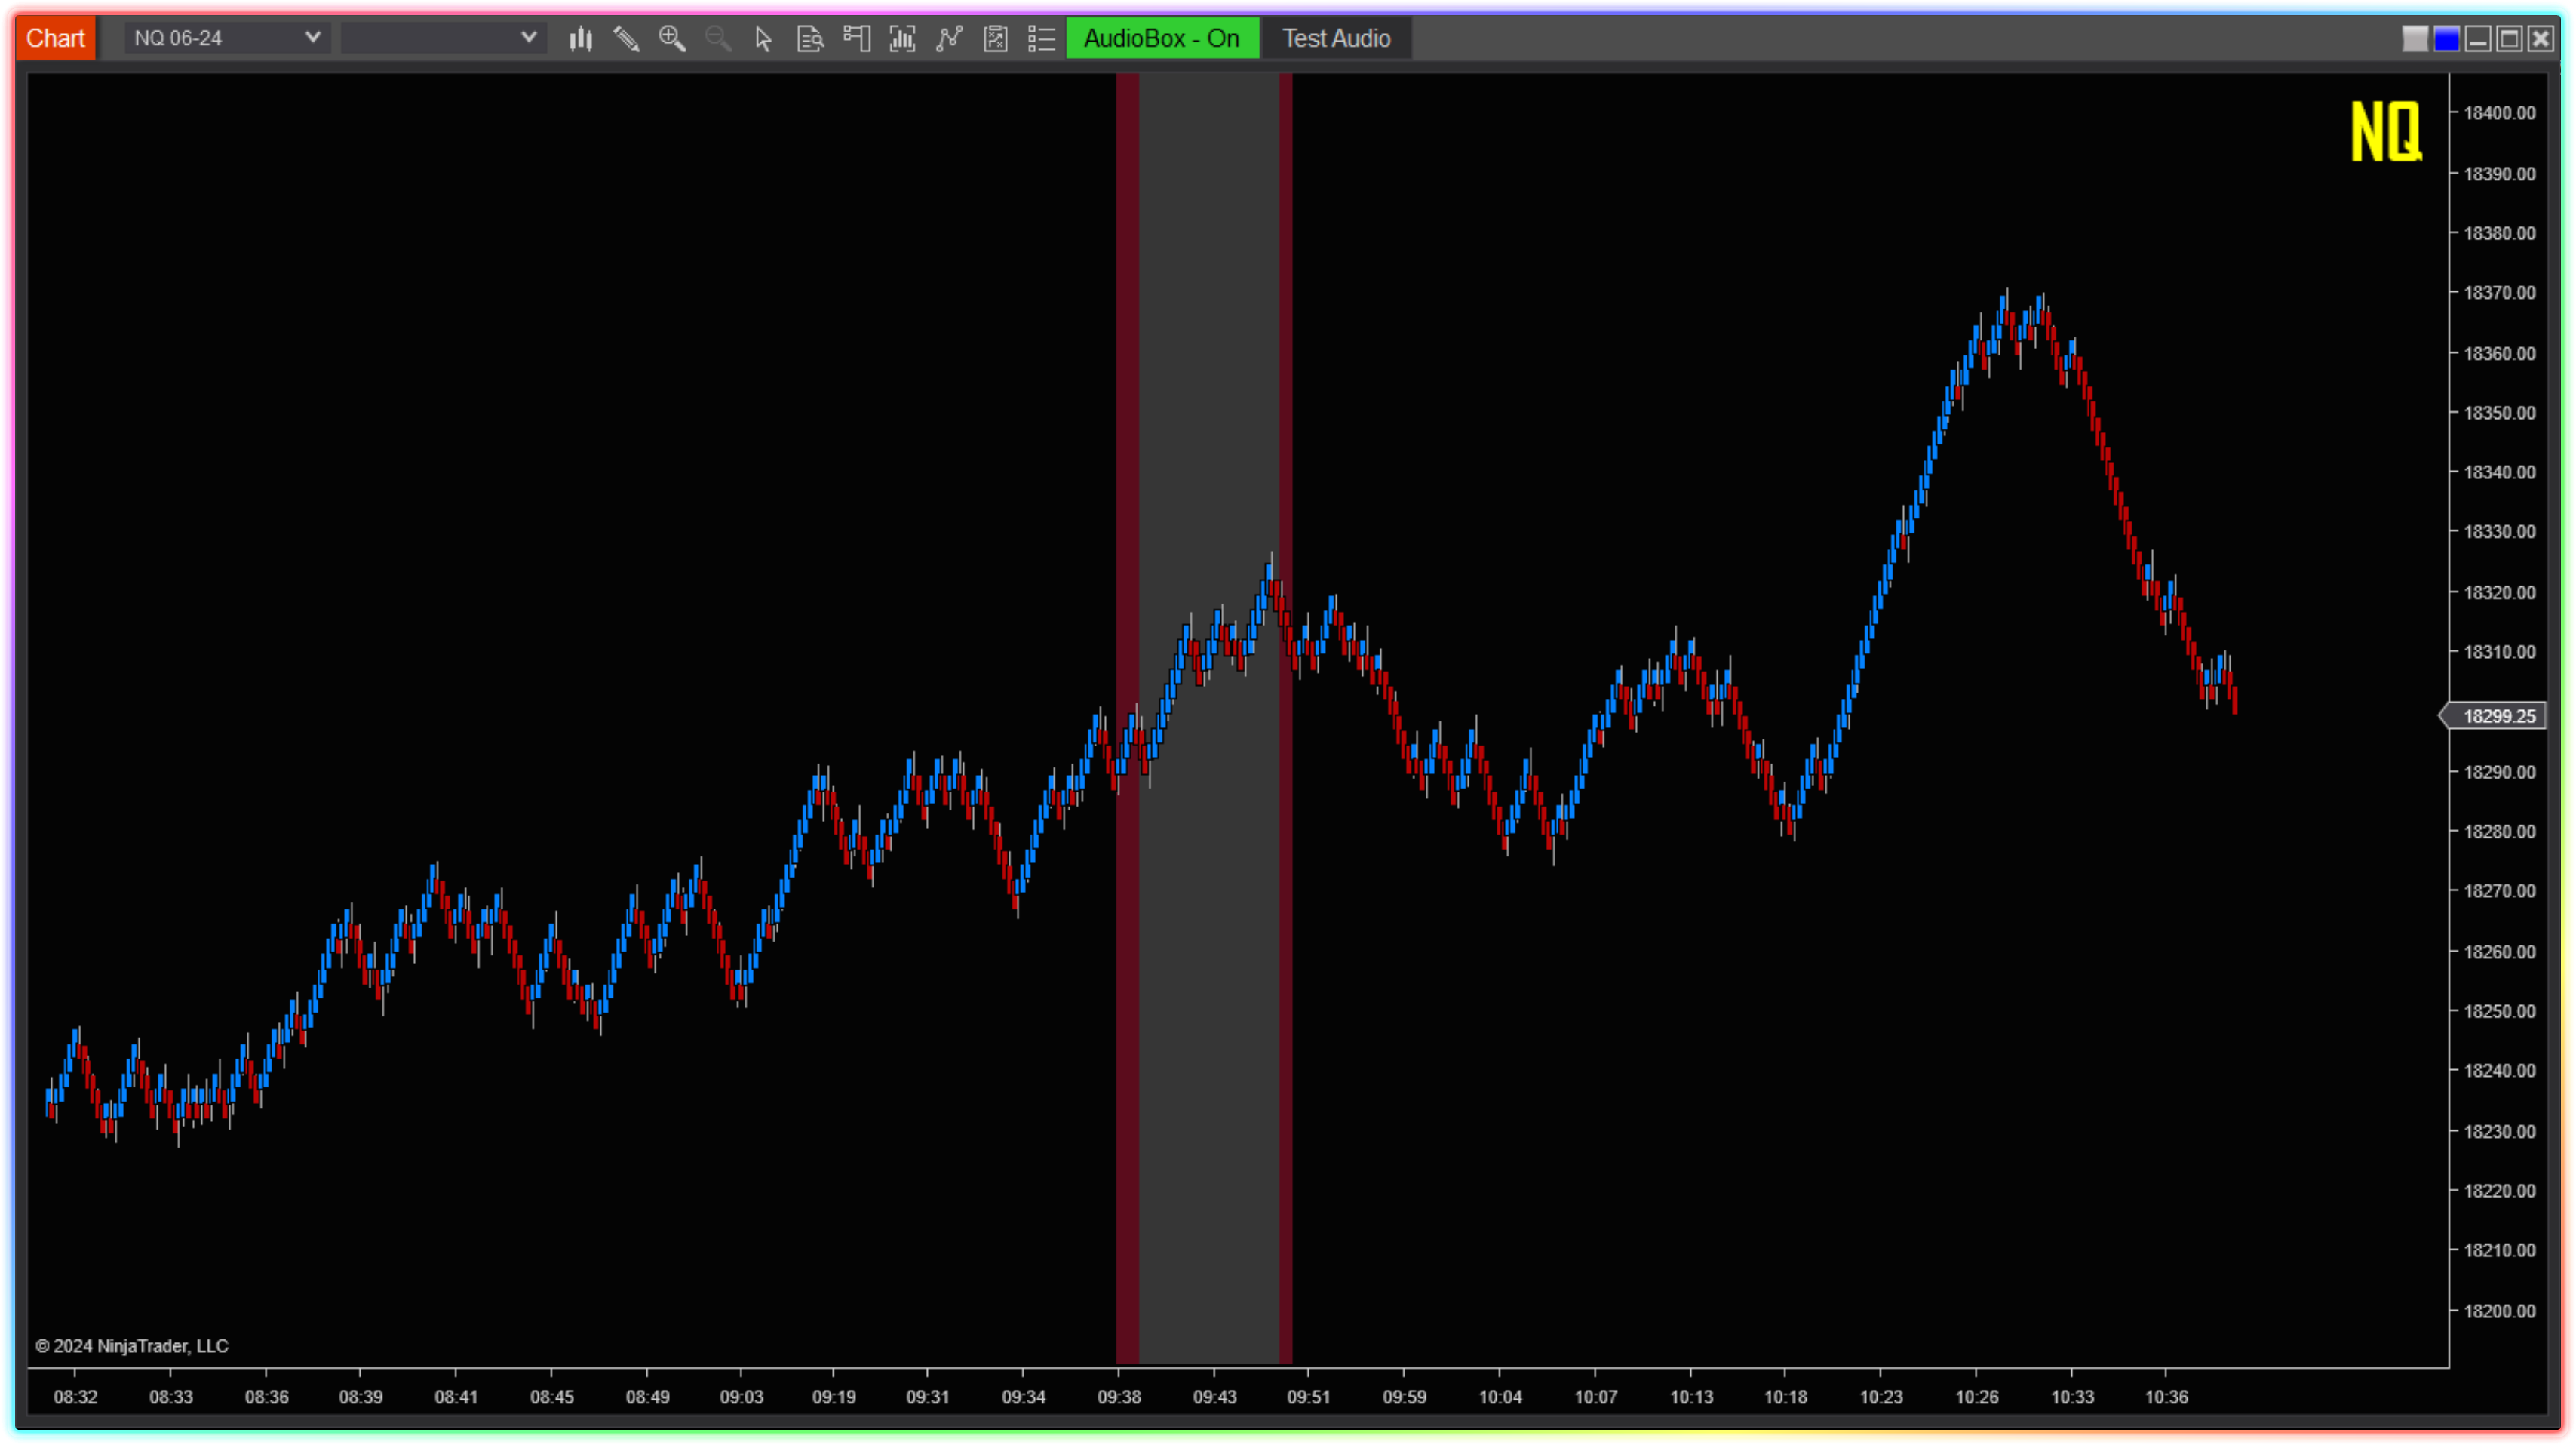
Time Region indicator warns when the 9:40am to 9:50am Potential Reversal period may occur: The red shaded area begins two minutes before the time period starts, followed by a grey shaded area that remains until the time period ends.
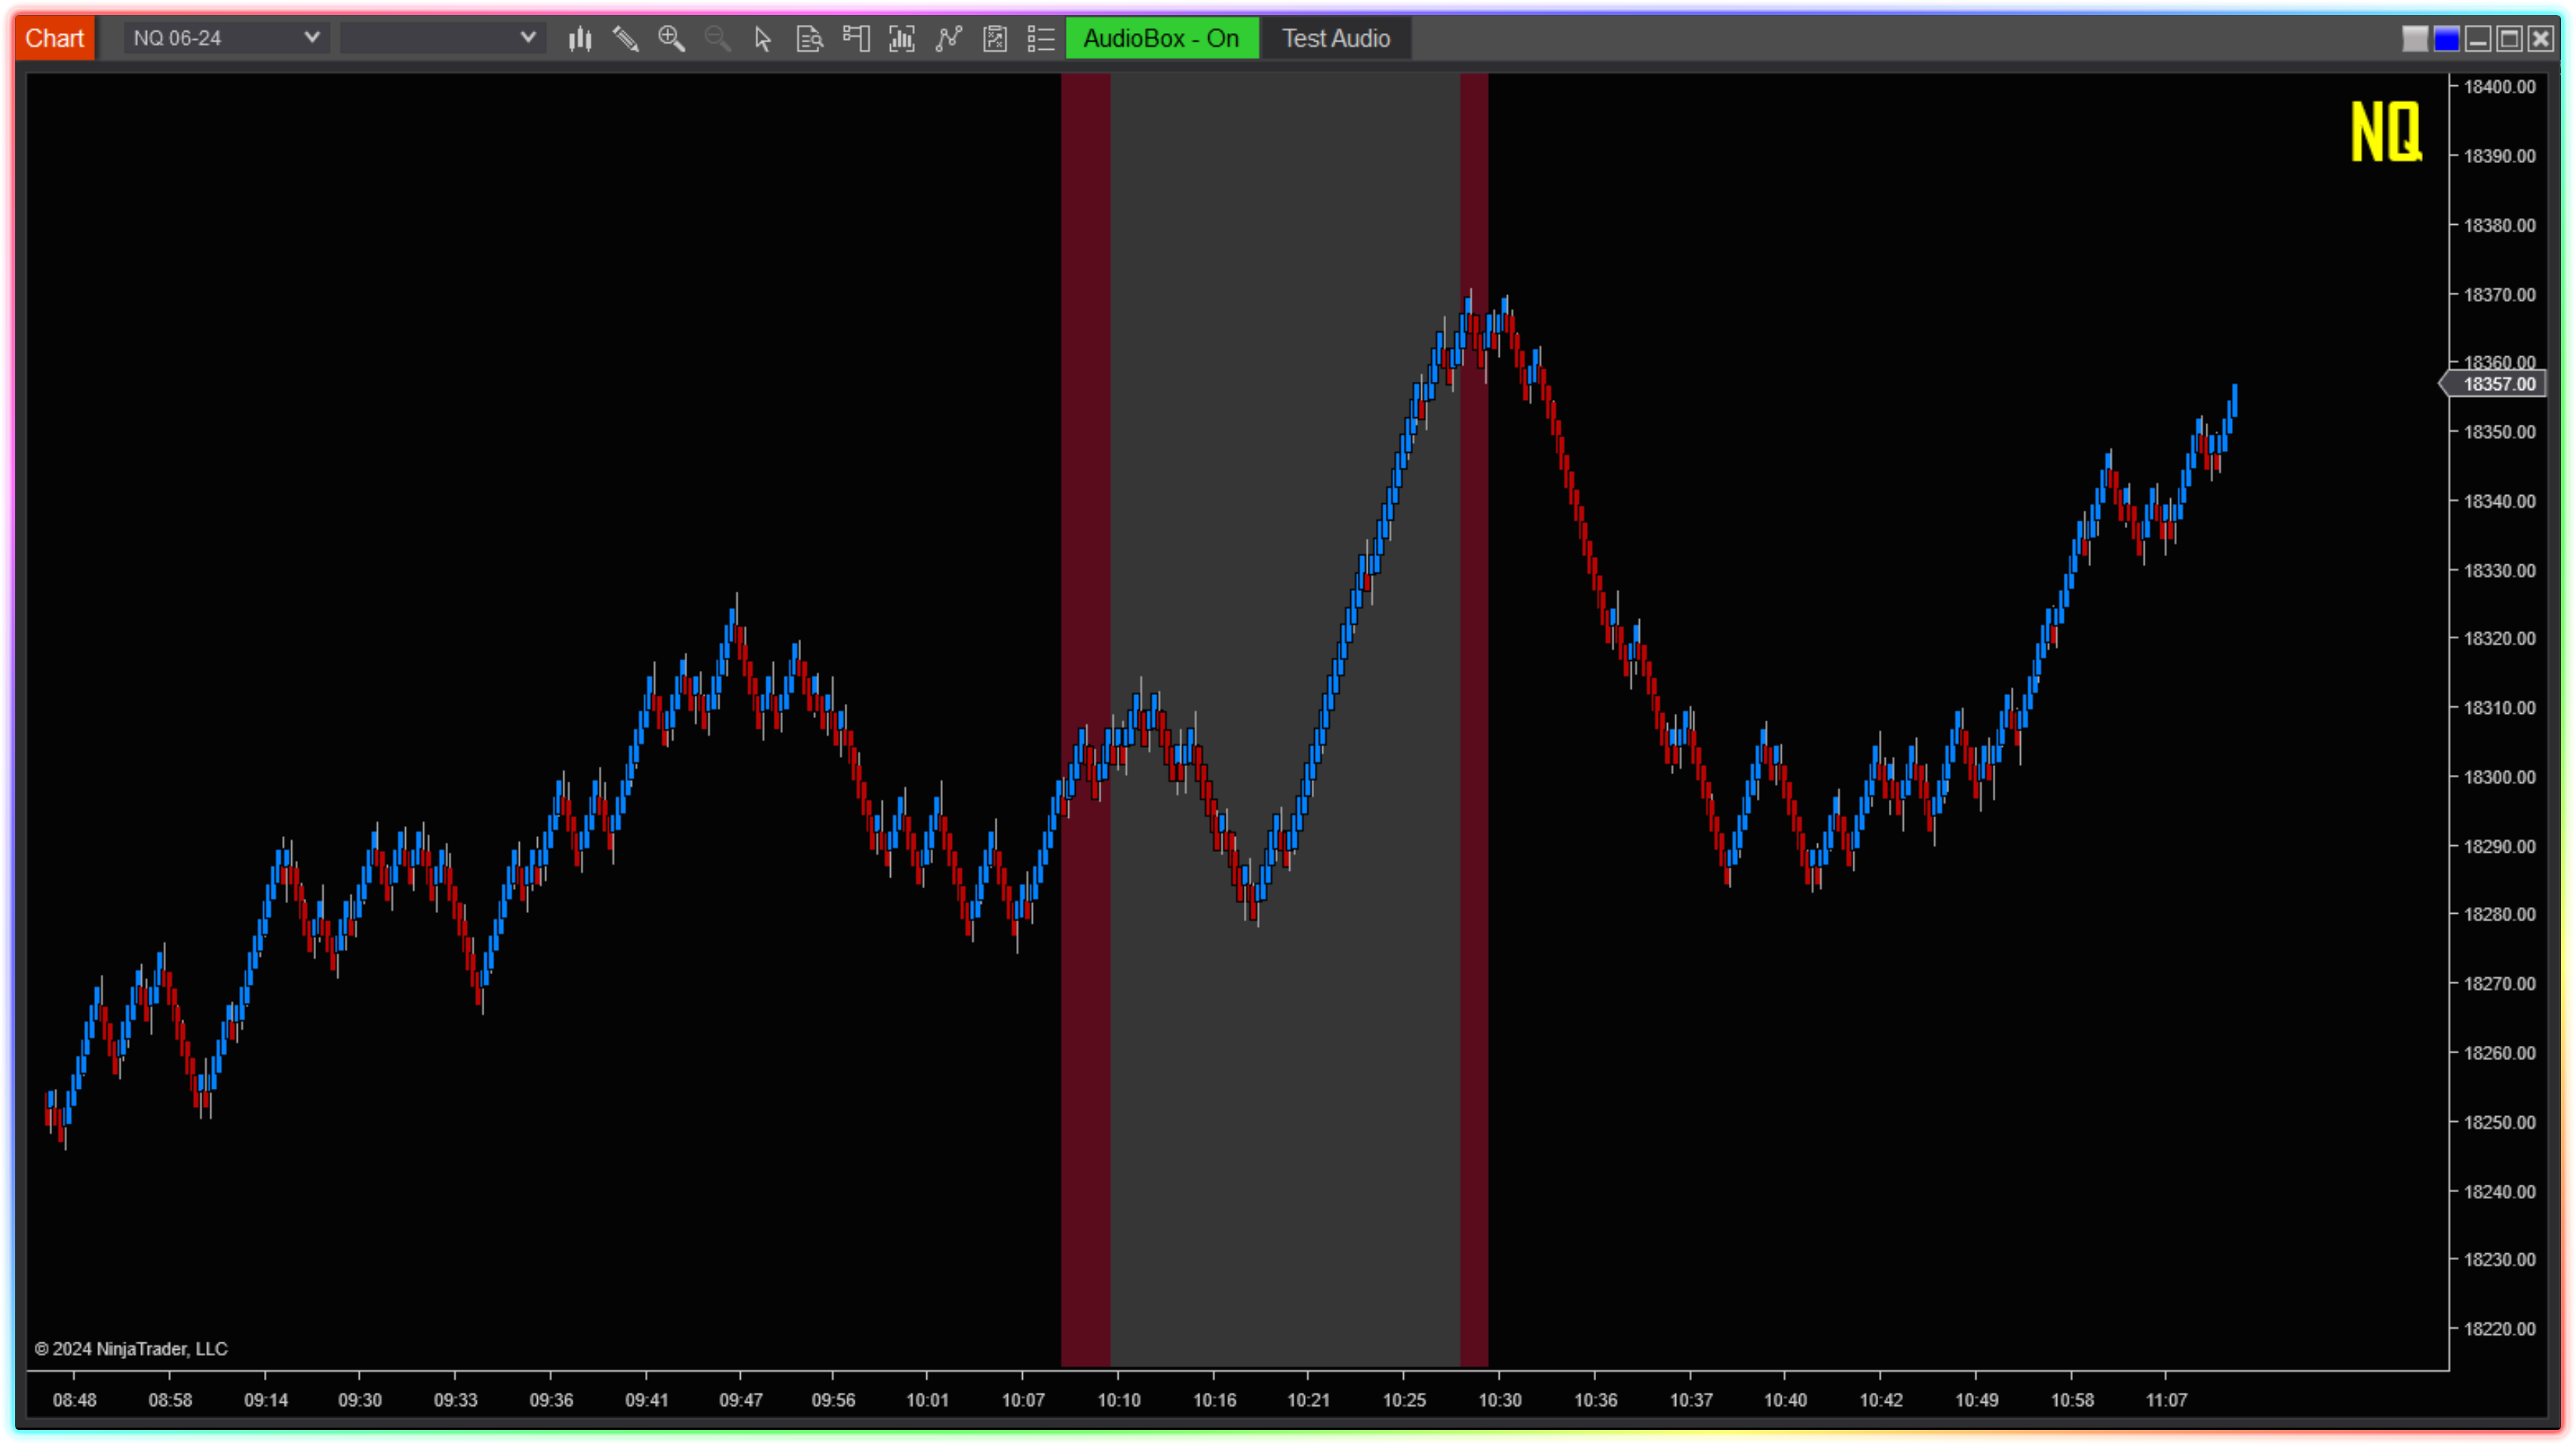
Time Region indicating 10:10 AM to 10:30 AM for the "Coffee Time" "Sit on Hands" period: The red shaded area begins two minutes before this time frame, followed by a grey shaded area that remains until the end of the time frame.
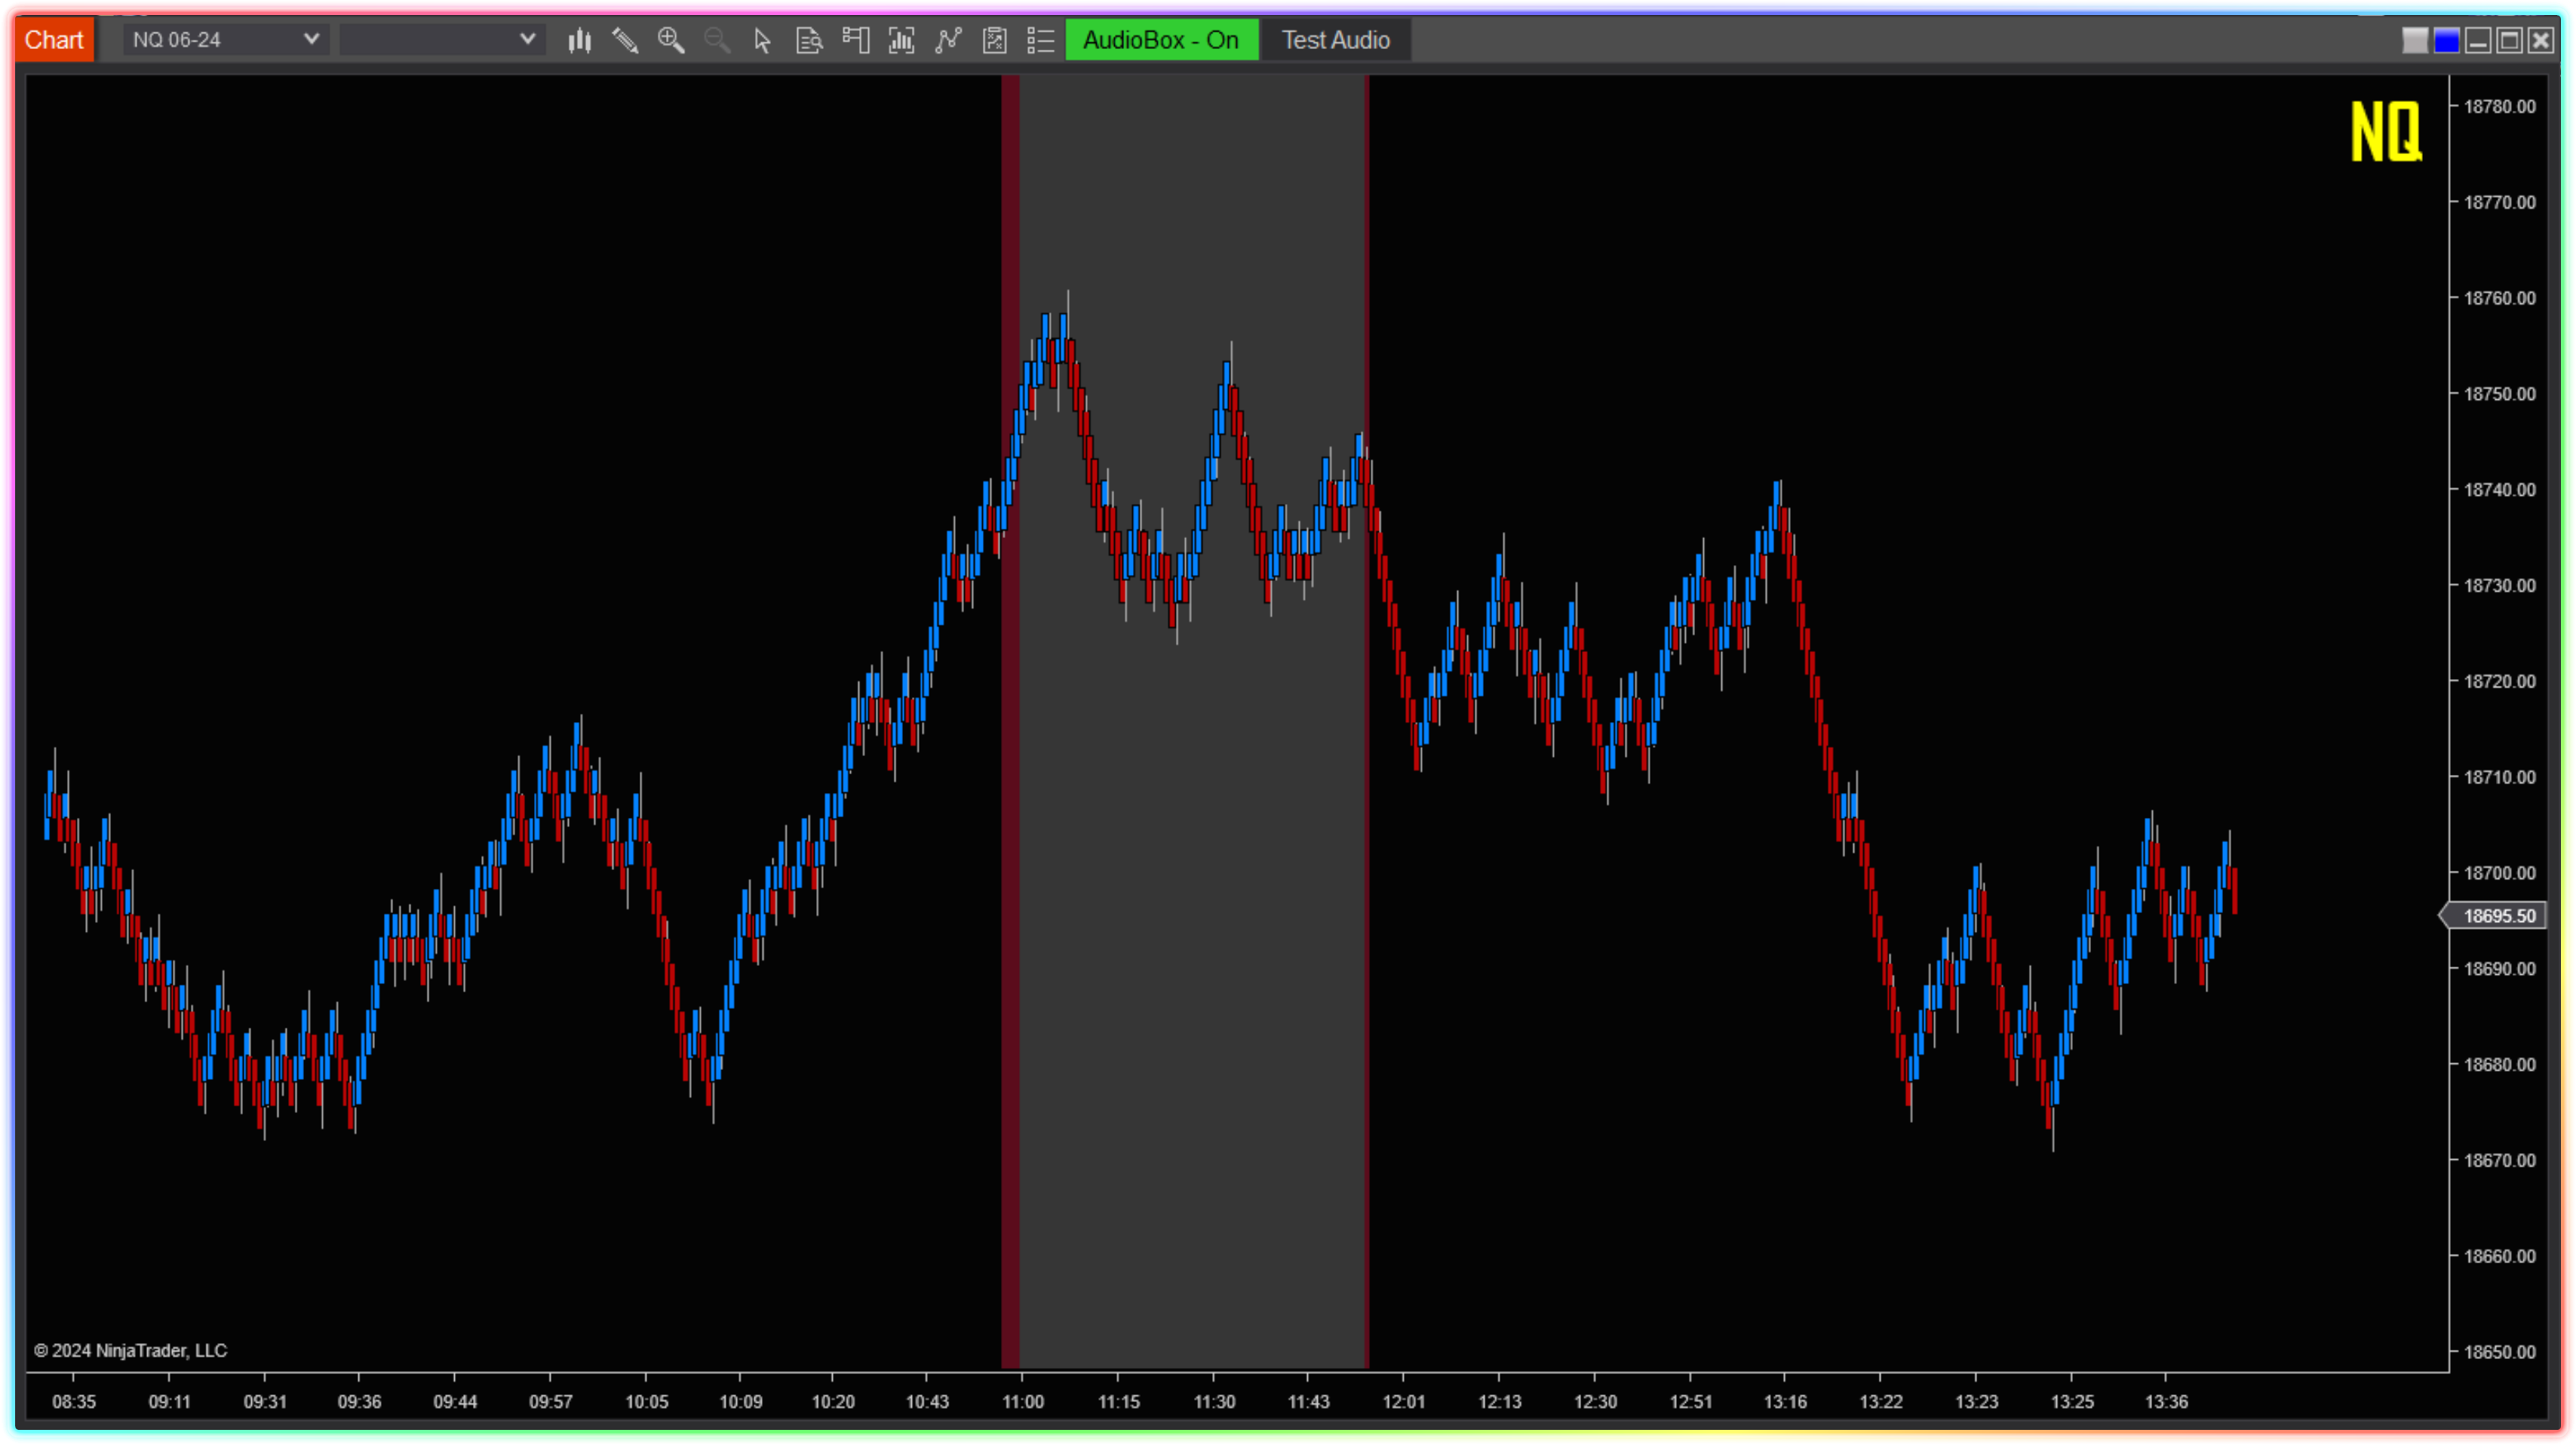
Time Region indicating when the Morning Session Beast Mode will commence: The red shaded area begins two minutes before the session starts, followed by a grey shaded area that remains until the session ends.
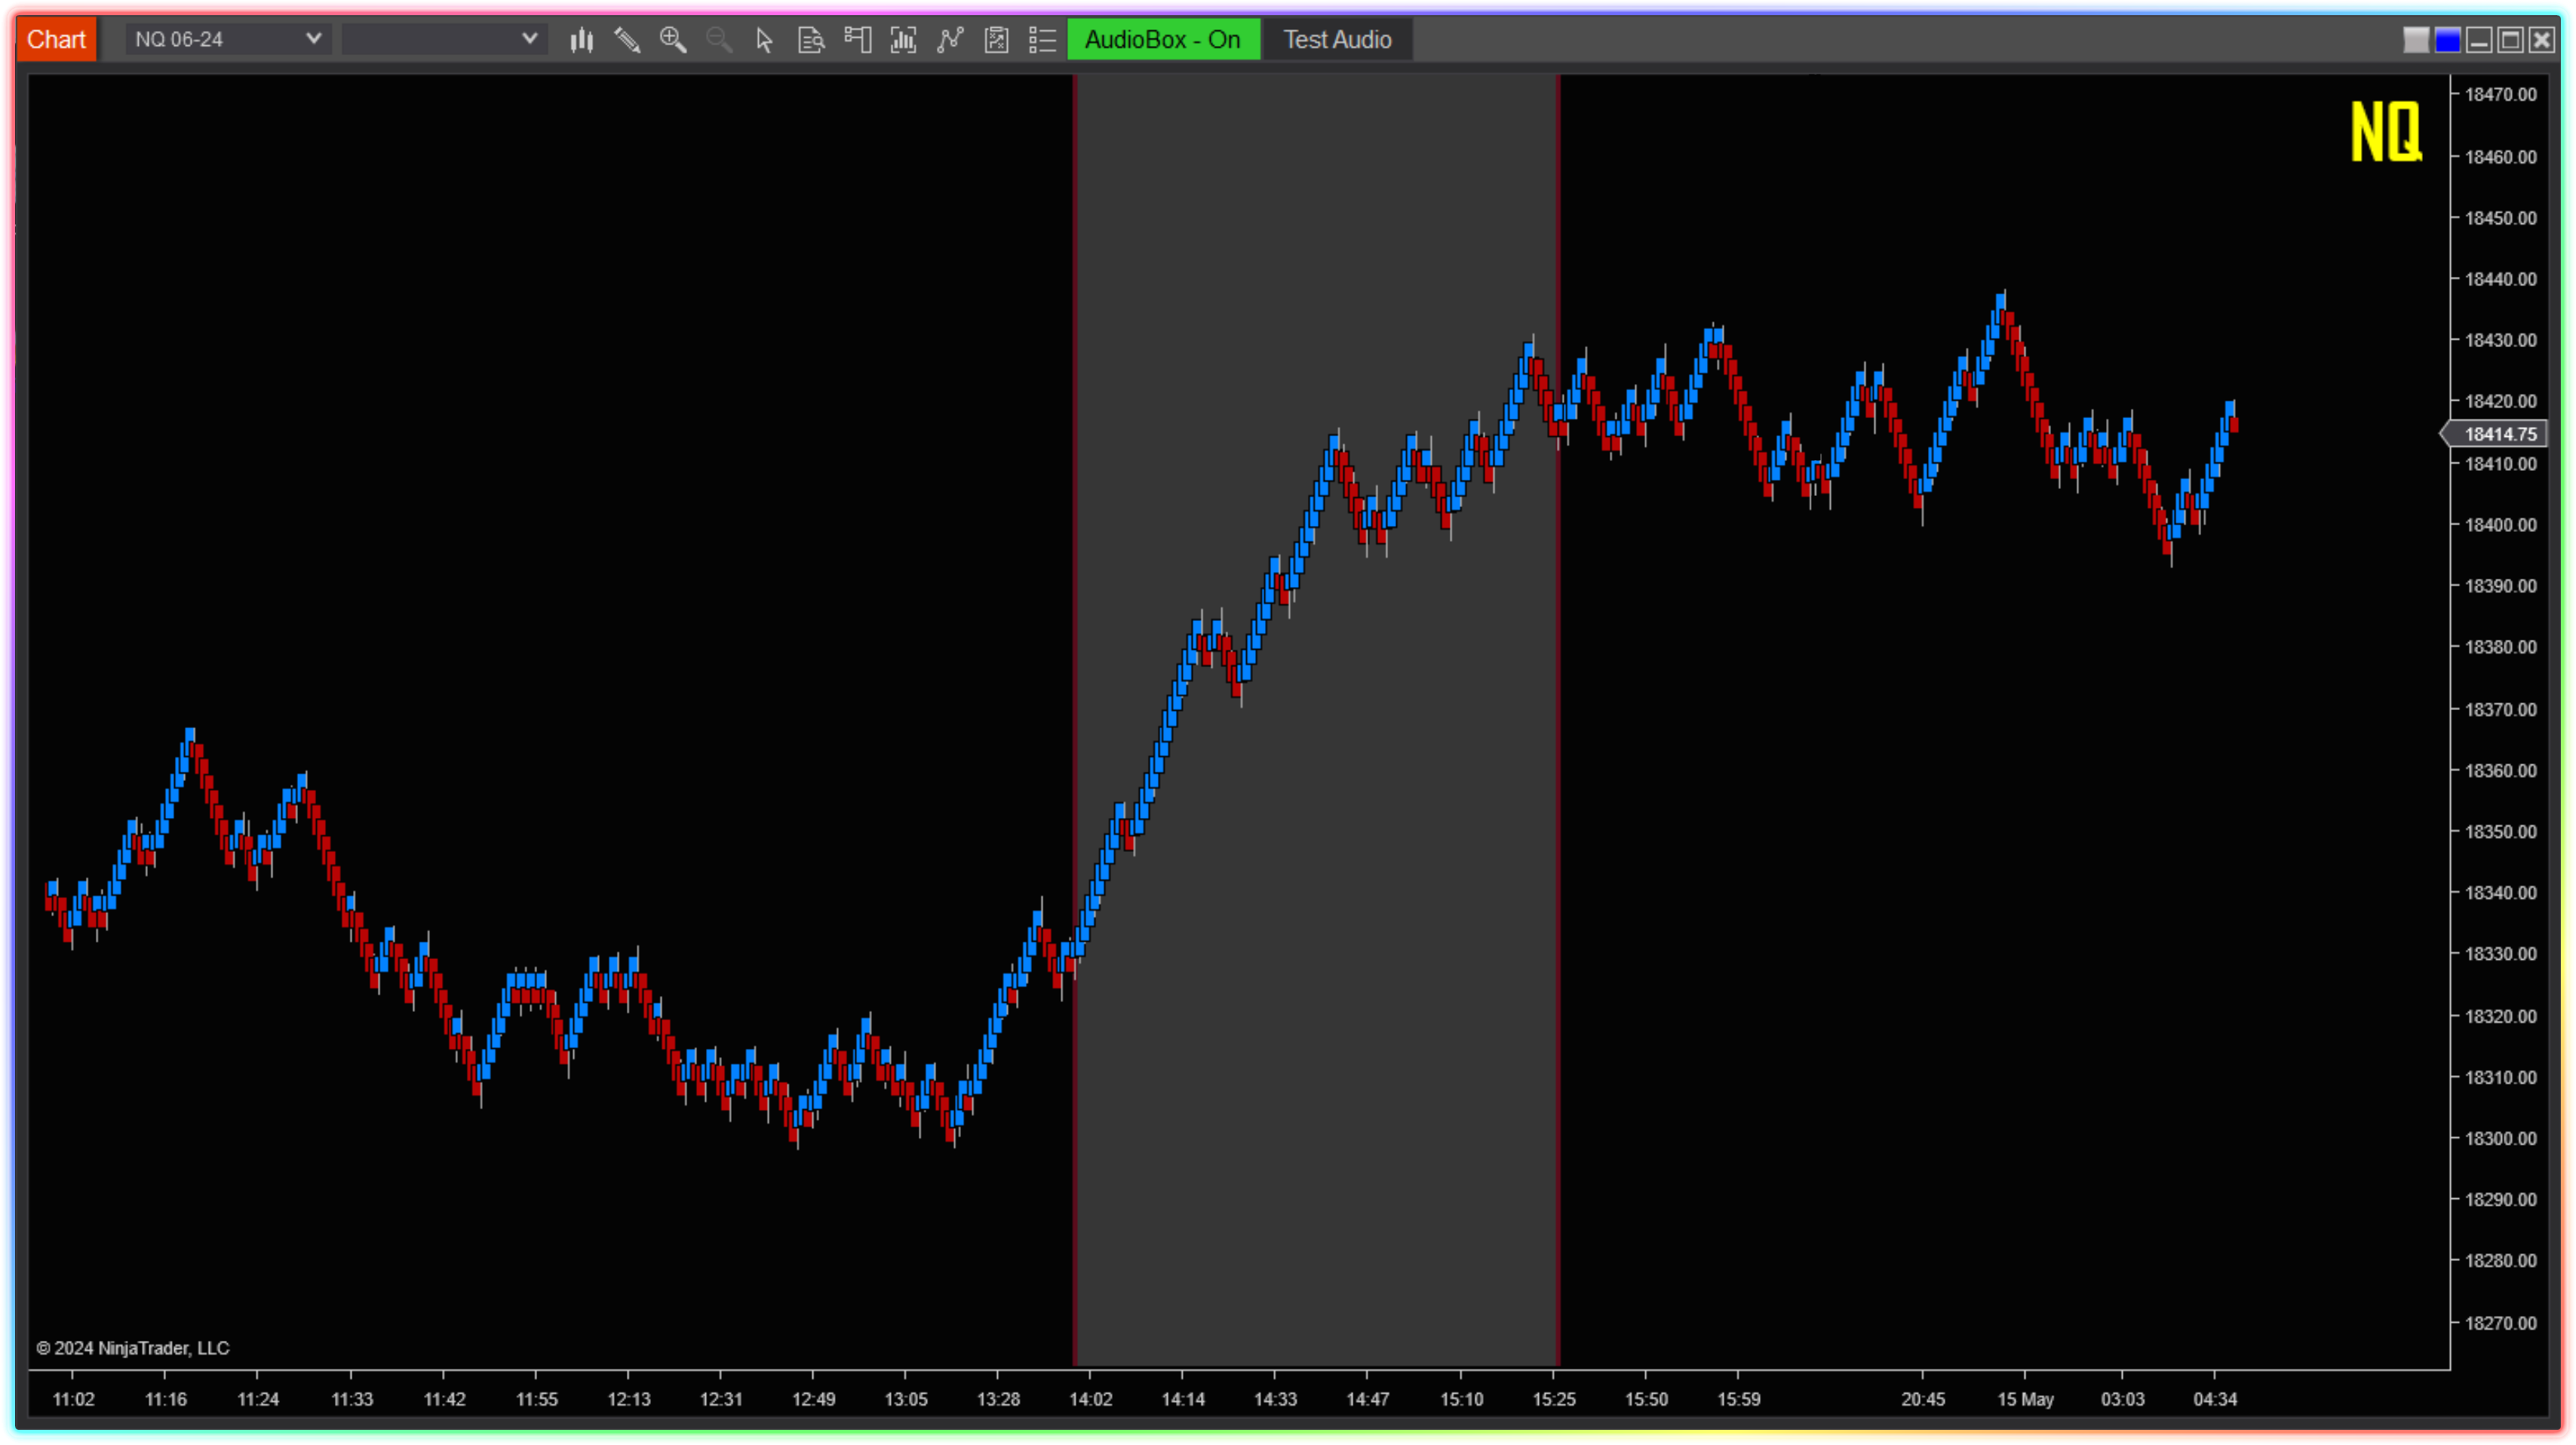
The Time Region indicator applied to warn when the Afternoon Session will commence: The red shaded area begins two minutes before the session starts, followed by a grey shaded area that remains until the session ends.
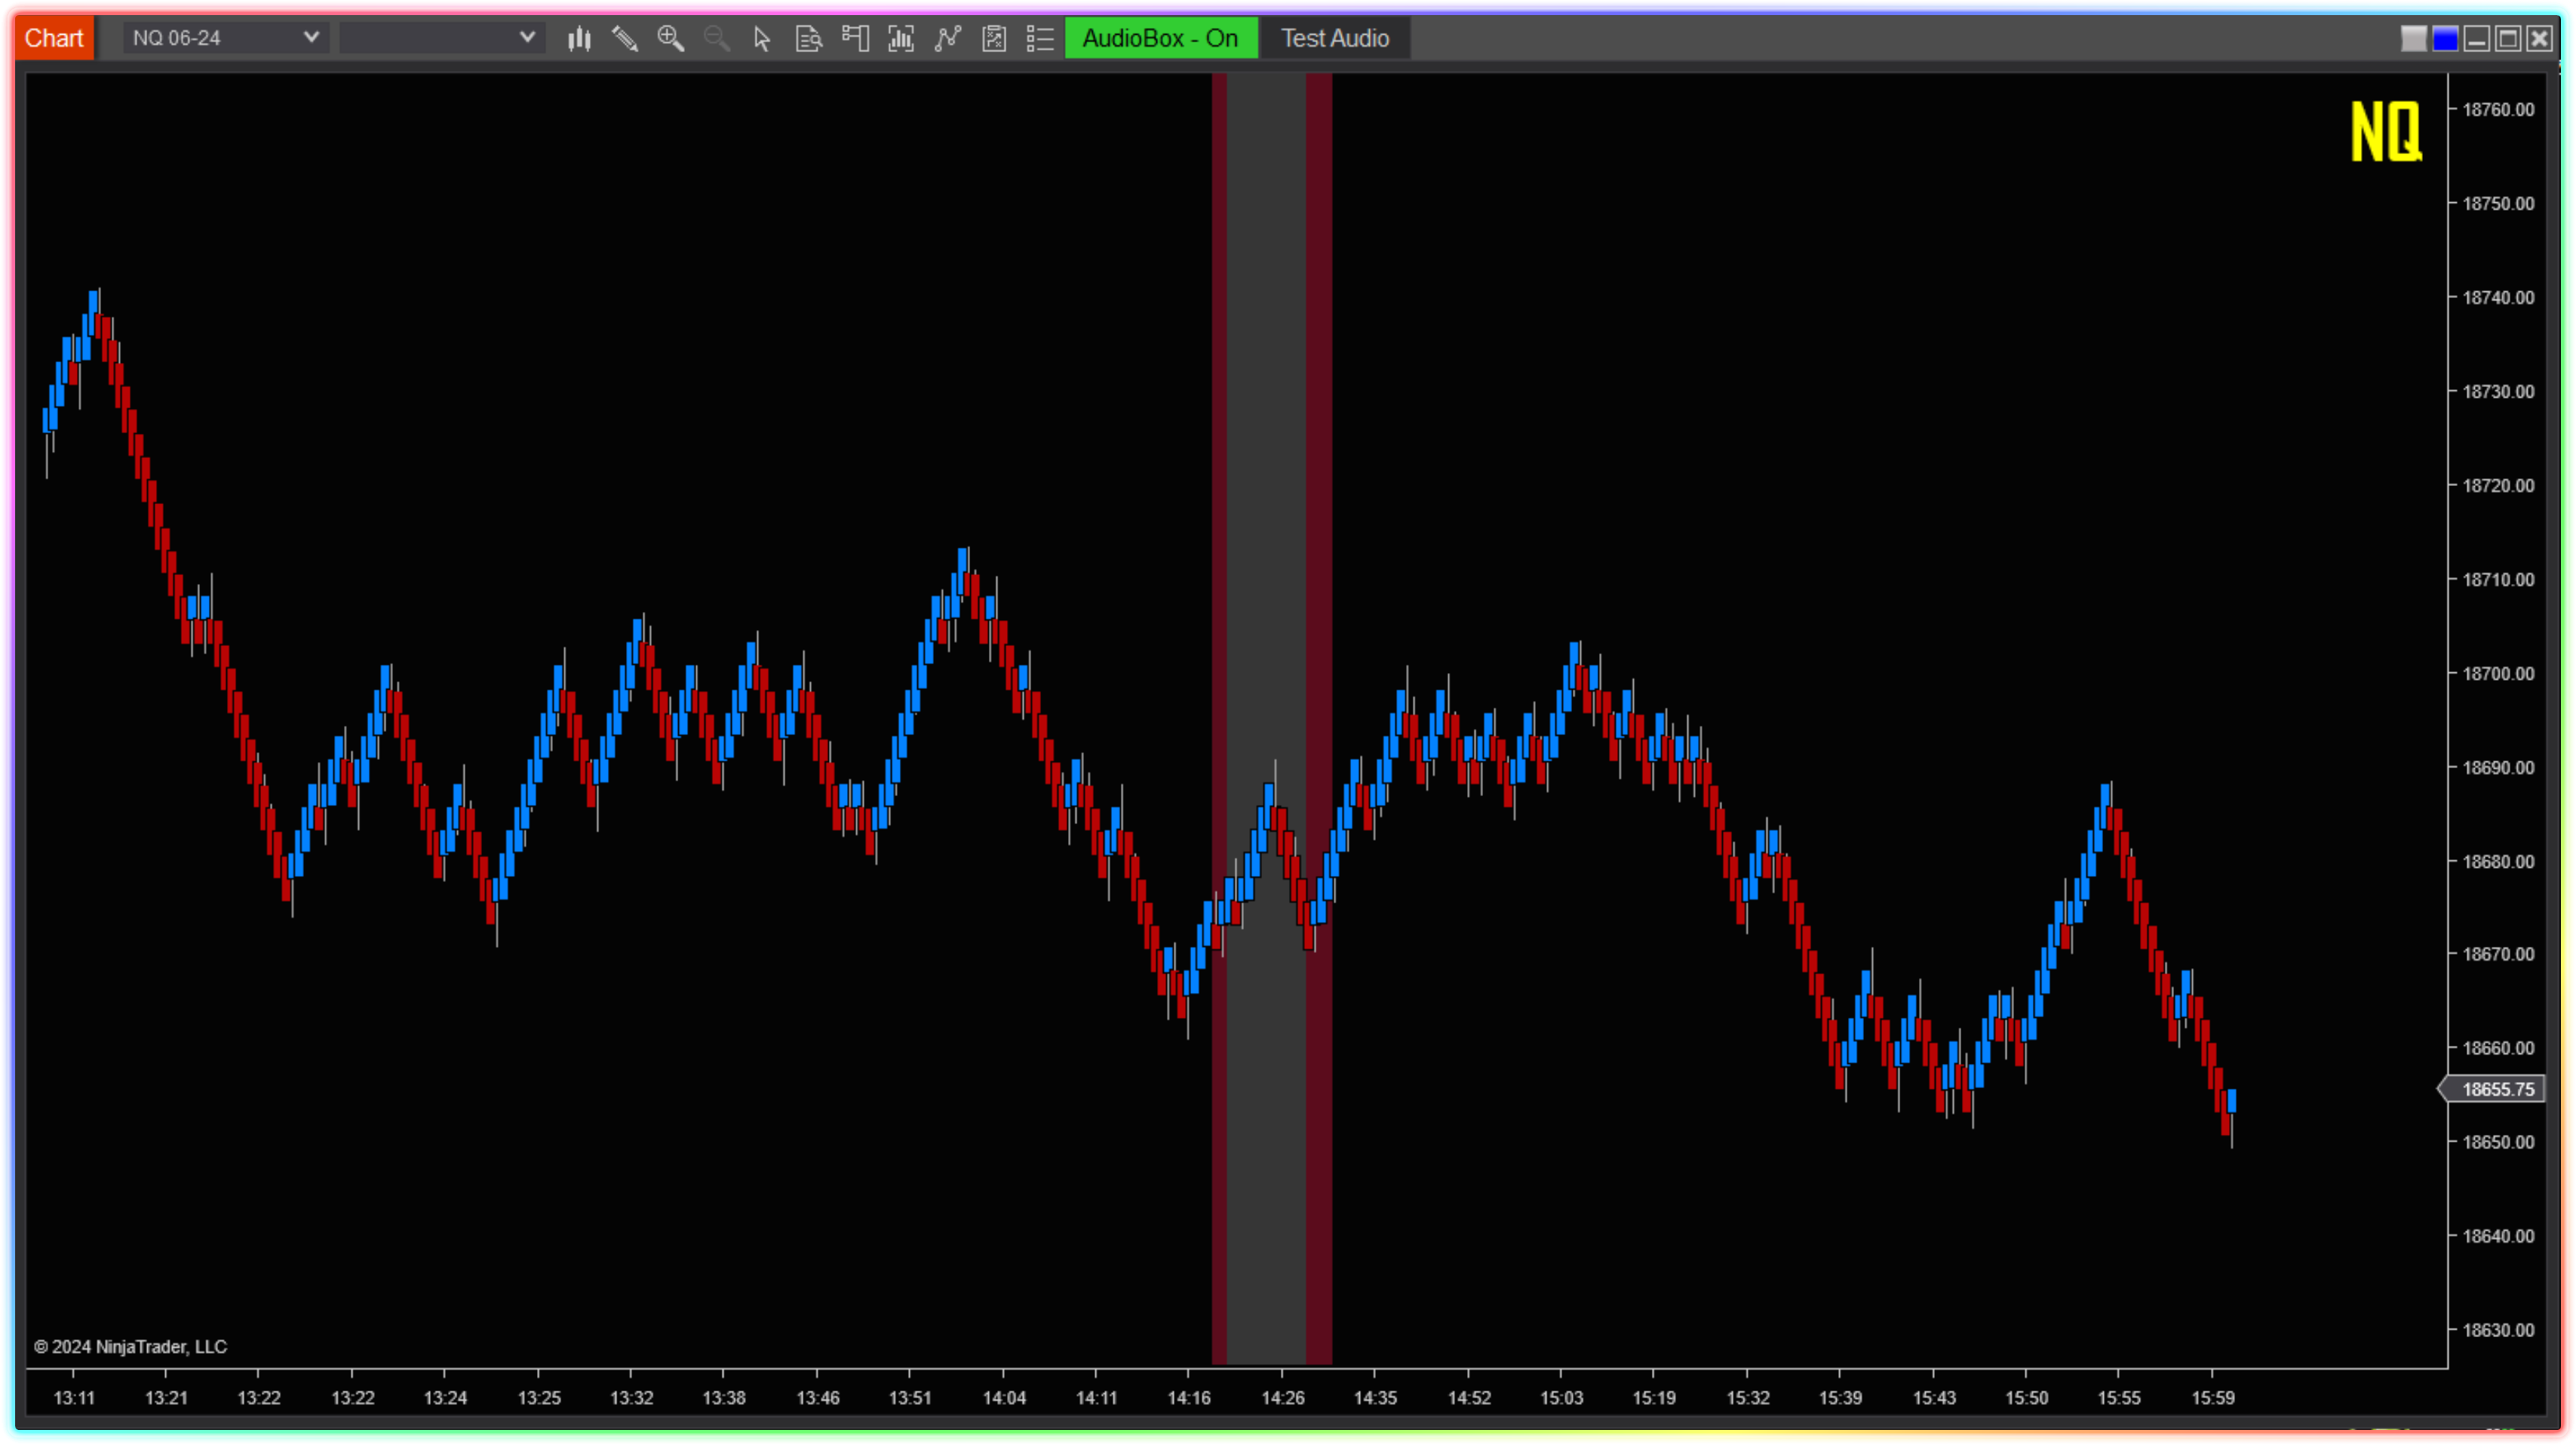
The Time Region indicator applied to warn when the 2:20pm to 2:30pm potential reversal period may occur: The red shaded area begins two minutes before the period starts, followed by a grey shaded area that remains until the period ends.
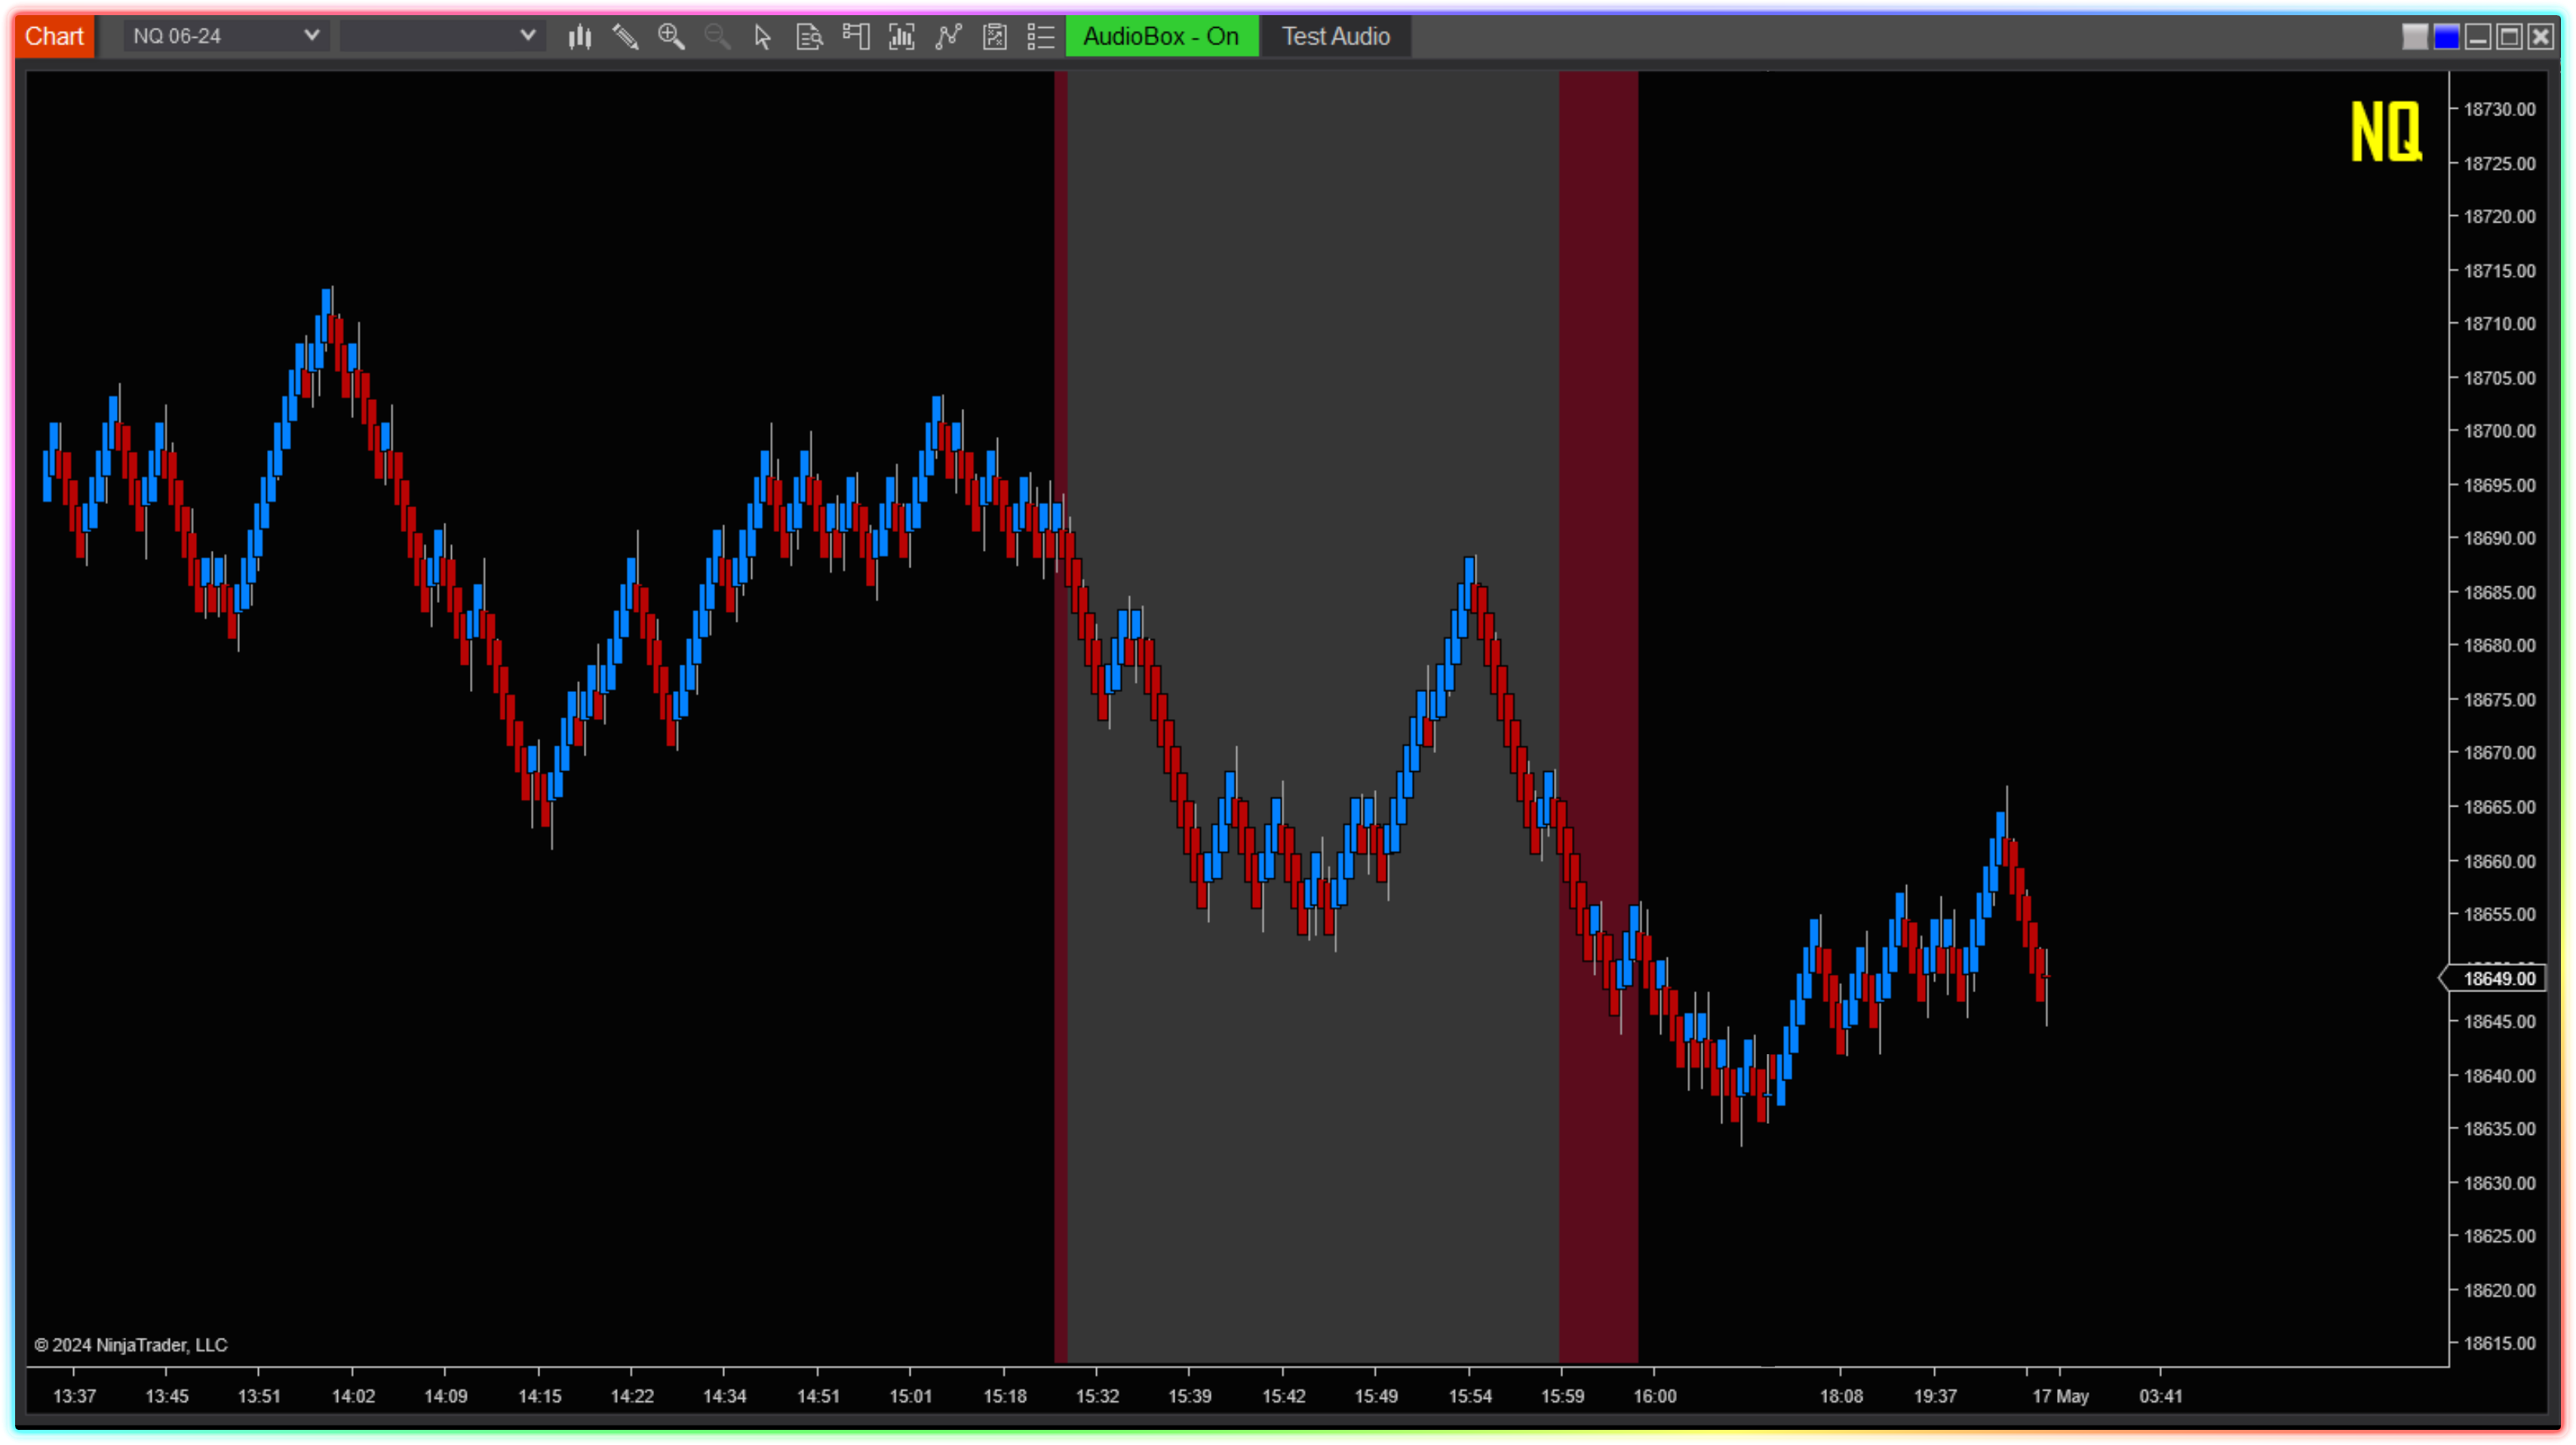
The Time Region indicator applied to warn BFTD/STFR period: The red shaded area begins two minutes before the zone starts, followed by a grey shaded area that remains until the zone ends.
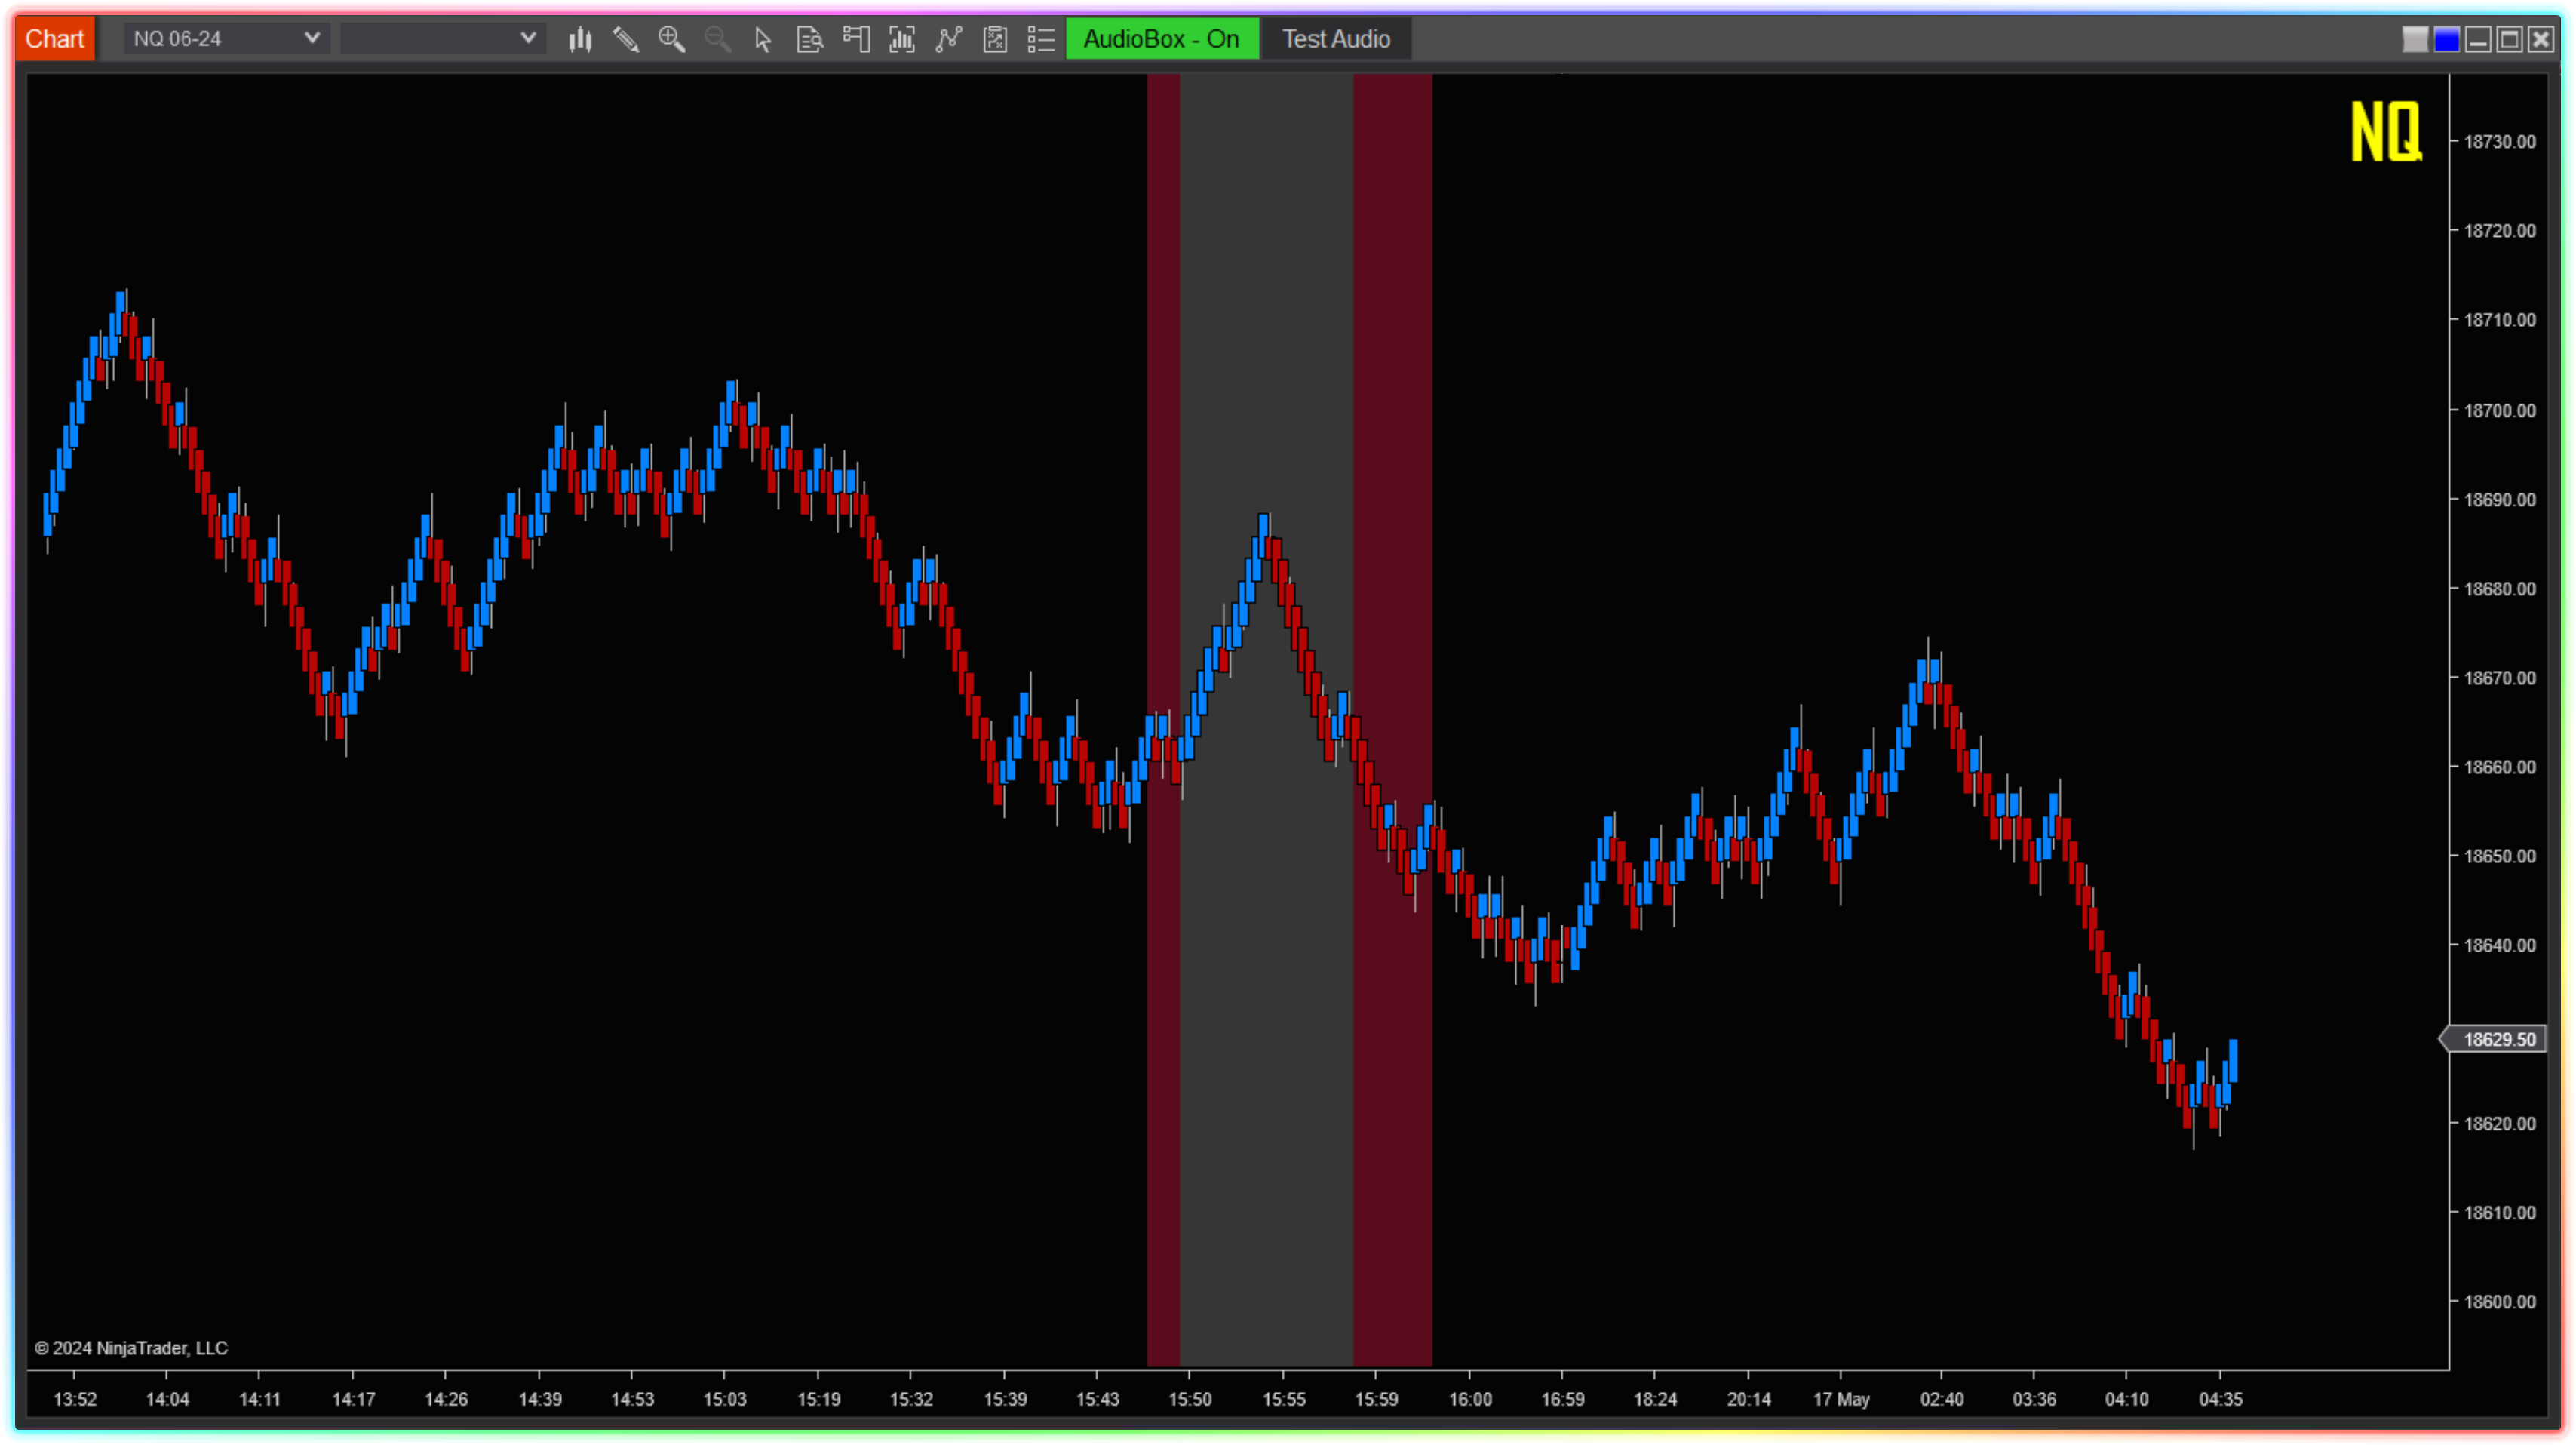
The Time Region indicator applied to warn before the 3:50pm Algos enter in the market: The red shaded area begins two minutes before the time period starts, followed by a grey shaded area that remains until the time period ends.
The Time Region indicator applied to alert for the Lucky 7's period: The red shaded area begins two minutes before the period starts, followed by a grey shaded area that remains until the period ends.
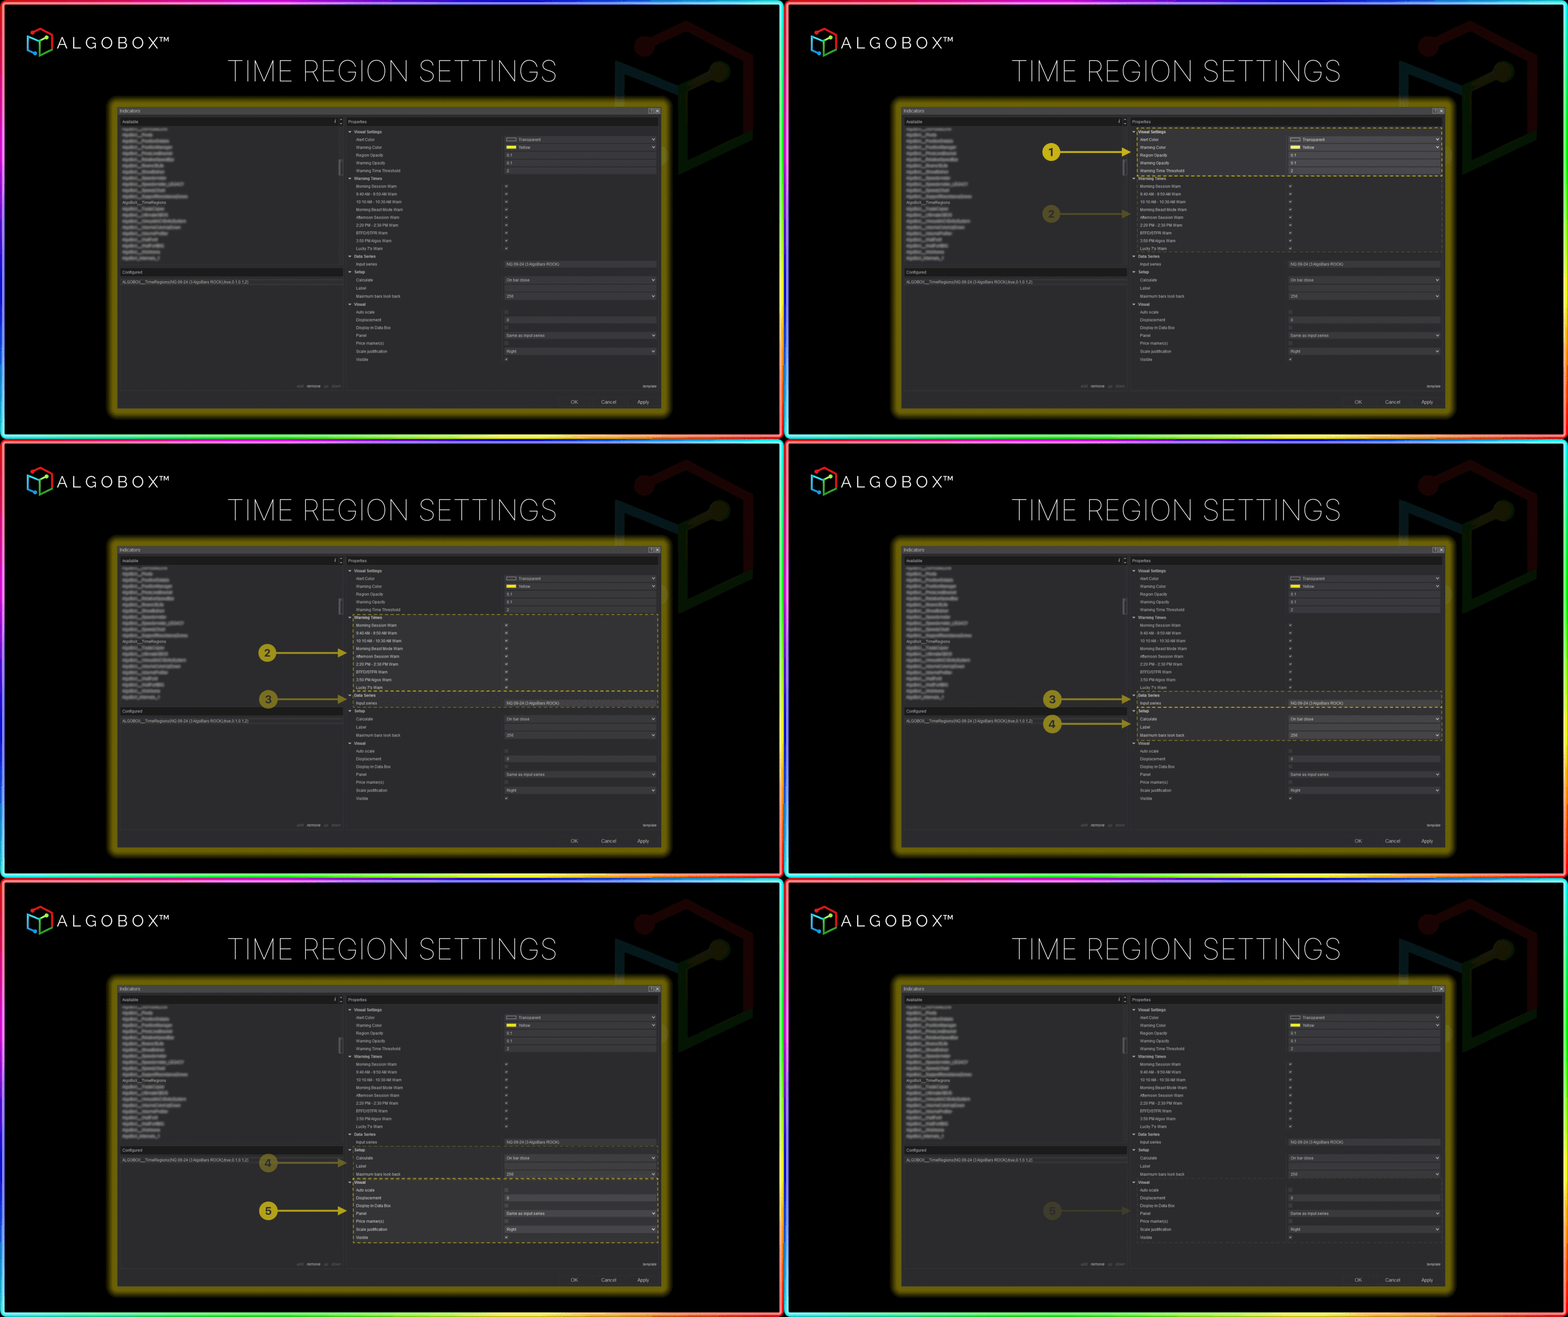
The Time Region offers a variety of customizable settings, allowing you to adjust them according to your preferences. Default AlgoBox™ settings are shown.