LogoLogo
  • 👋GETTING STARTED
    • What is AlgoBox™?
    • 2-Week Free Trial
    • System Setup
    • How To Install
    • How To Use GitBook Documentation
    • AlgoBox™ Beginners Course
      • Absolute Basics Curriculum Exam
      • ABC Exam Answers
  • 🔵FUNDAMENTALS
    • 120 Day Program
    • 8-Day Boot Camp
    • Workspaces
    • Chart Layouts
    • AlgoBars
    • Trading Sessions
    • Time Regions
    • News
    • Trade Tracker
    • Daily Tracker Sheet
    • Tide / Wave Visualizer
    • Position Sizing
    • Position Manager
    • Position Details
    • Button Panel
    • Bid Ask Lines
    • Channel Regulator
    • Chart Labeler
    • Chart Notes
    • Contract Rollover
    • Current Day OHL
    • Golden Ropes
    • MACV Filter Chart
    • MACV ULTIMATE
    • No Fiddle Zone
    • FibElliDott
    • Harmonic Patterns
    • Favorable Direction
    • FlowMaster™ Alpha Omega
    • FlowMaster™ AudioBox
    • FlowMaster™ Cross
    • FlowMaster™ Delta Flagging Pro
    • FlowMaster™ Enigma
    • FlowMaster™ Enigma Bot
    • FlowMaster™ Enigma Dream Panel
    • Info Panel
    • SMLK Timing Lines
    • Speedometer & Psychology Module
    • Speedy Chart
    • Support & Resistance Zones
    • Ultimate OBOS Divergence
    • Volume Profiler
  • 🟢STRATEGIES
    • 1 Tick Wonder
    • 2 Finger Salute
    • 3 Wise Men
    • 4 Legged Dog Trap
    • Super Bands
    • Cluster Reversal
    • DCDM
    • DCR
    • Delta King
    • Defense Leg
    • Diamond Dott
    • Double Delta
    • Double Delta Shift Reversal
    • Double Dott
    • HarmoniDott
    • Headshot
    • Ignition Bar
    • J-Hook
    • Masher
    • Enigma + AudioBox
    • Enigma MoonShot
    • Enigma Cadence
    • Double Enigma
    • Enigma + DCDM
    • Piercer
    • Plover
    • PRZ Cross
    • P-PRZ Ladders
    • Regions
    • Retail Run
    • Richie
    • Shark Back & Shark Tail
    • Split Cross Reversal
    • Strategy Confluence
    • Turtle
    • Alpha Omega Clustering
    • Alpha Omega Continuation
    • Super Alpha Omega
    • Super Moon
    • Titanic Zone
  • 🔴ESSENTIAL TIPS & TECHNIQUES
    • 4 Types of Stop Losses
    • 2-Try Rule
    • Recency Is Key
    • Small Account Challenge
    • Practice 10x Size
    • Checklists & Reminders
    • Stalking Trades
    • Dr. Seuss Entry Technique
    • Late Nate
    • Hold To Opposing Signal
    • Windfall Rules
    • Tools Of The Trade
    • Screenshots & Recordings
    • Trade Copier
    • PC Performance
    • NinjaTrader 8
    • Hotkeys
    • Sound
    • Trade Performance
    • Indicators
    • Market Replay / NT Playback
    • Commissions
    • Daily Loss Limit
    • Multiple PCs
    • Discord
    • AlgoBox™ Academy
      • AlgoBox™ Academy Exam Answers
    • Discounts
  • 🔗Links
    • Website HQ
    • YouTube: AlgoBox (Official)
    • YouTube: ALGOBOX Trading
    • Discord
    • AlgoBoxGPT
    • ℹ️Disclaimer
Powered by GitBook
On this page
  • FibElliDott
  • FlowMaster™ Alpha Omega
  • FlowMaster™ Enigma
  • Harmonic Patterns
  • Video Tutorial: Recency Is Key
Export as PDF
  1. ESSENTIAL TIPS & TECHNIQUES

Recency Is Key

The Key To Contradicting Signals

Last updated 1 month ago

The most recent successful signals are often the most valuable. Pay attention to the latest trends and insights to make informed trading decisions.

FibElliDott

FlowMaster™ Alpha Omega

FlowMaster™ Enigma

Harmonic Patterns


Video Tutorial: Recency Is Key

Try AlgoBox™ for free - No credit card required, no obligation, no gimmicks.

Disclaimer

🔴
WATCH: This short video explains "Recency is Key" concept.
In this example of a Double Dot we have a bullish FibElliDott followed by a bearish FibElliDott, where the price drops immediately after, showing how the most recent signal had the strongest effect.
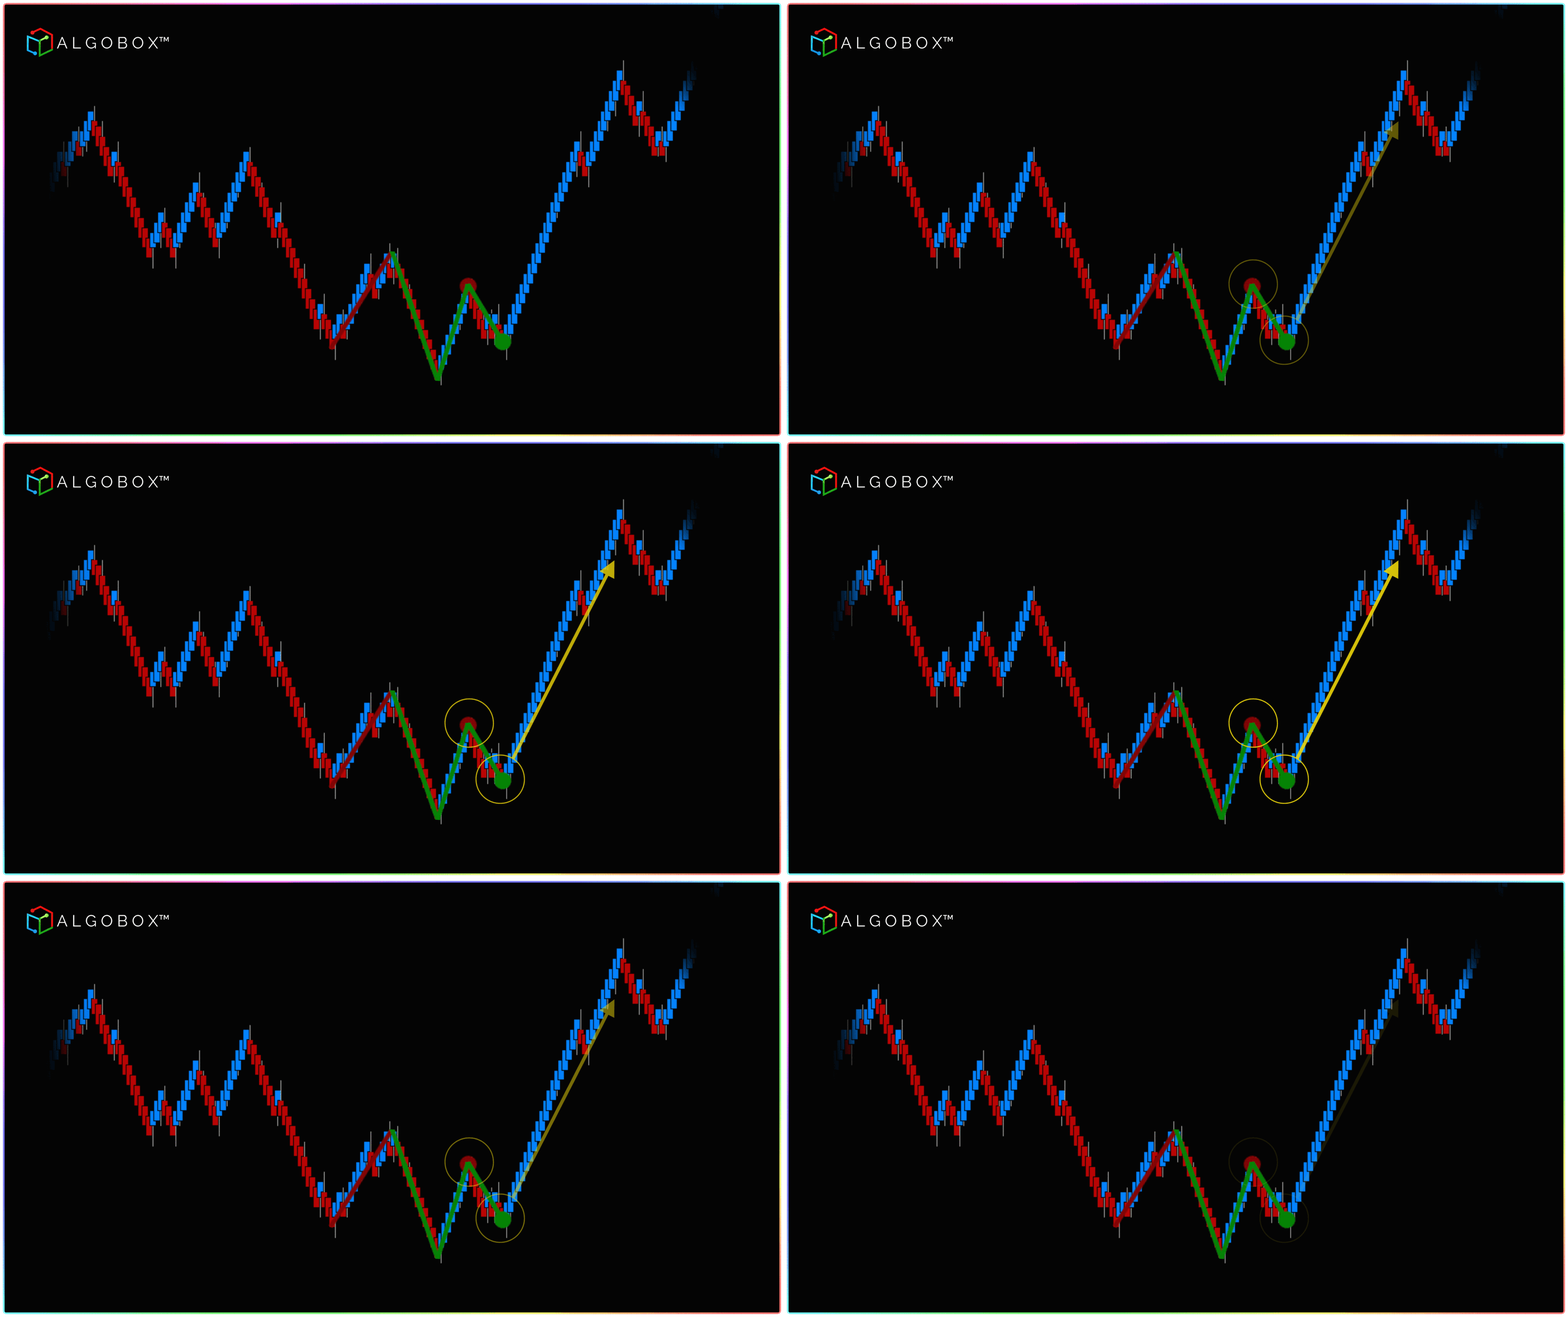
In this example of a Double Dot we have a bearish FibElliDott followed by a bbullish FibElliDott, where the price shoots up immediately after, showing how the most recent signal had the strongest effect.
Here is an Alpha Omega example: The green bullish Alpha is invalidated by the red bearish Omega being the last signal given, causing the price to drop immediately afterward.
Another Alpha Omega example: The red bearish Omega is invalidated by the green bullish Alpha being the last signal plotted, causing the price to shoot up.
The green FlowMaster™ Enigma, followed by a much more recent red FlowMaster™ Enigma altering the trend's directional course.
The red FlowMaster™ Enigma, followed by a much more recent green FlowMaster™ Enigma altering the trend's directional course.
Here is an example where the most recent green Gartley Harmonic Pattern is the latest market signal which results in the price moving up.
Here is an example where the most recent red Butterfly Harmonic Pattern appears after the green Gartley Cypher Harmonic Pattern which results in the price reversing down.